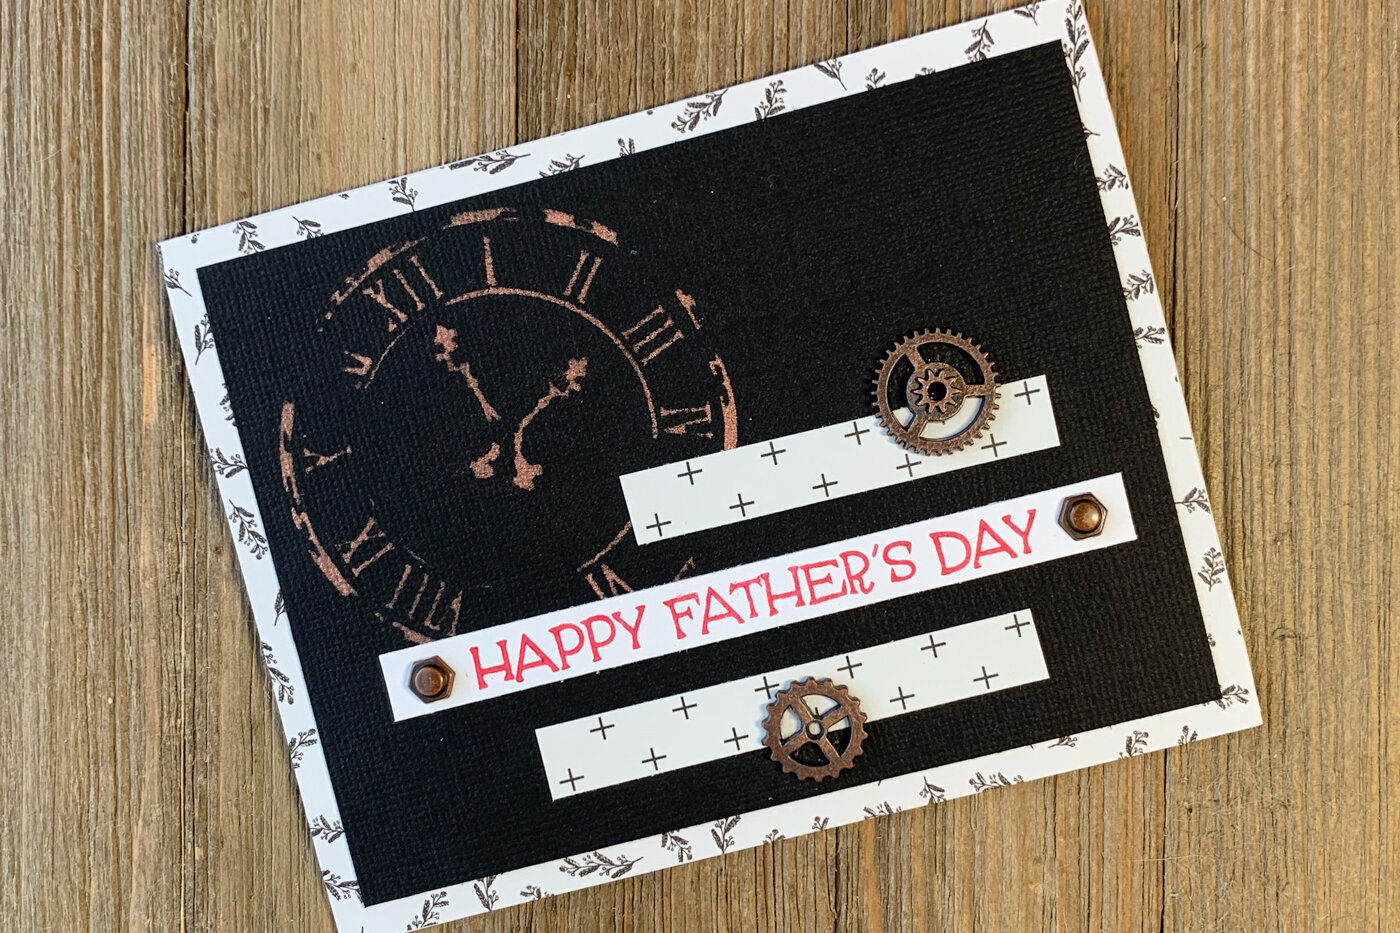
Last-Minute Father’s Day Card
Today my project is a quick, last-minute Father’s Day card that is simple to make with items that many of us have in our stash…but you will probably be surprised where I got the papers from!
Disclosure: This site participates in the Amazon.com affiliate program. Some links on this site are affiliate links that pay this site a commission at no cost to the reader when a purchase is made after a click.
Supplies Used:
My Minds Eye 6x6 paper pad - Gingham Gardens (Scrapbook.com, Amazon)
black textured cardstock
white smooth cardstock
The Crafter’s Workshop - Mini Time Travel (Scrapbook.com, A Cherry On Top, Amazon)
Brilliance Dew Drop ink - Cosmic Copper (Scrapbook.com, A Cherry On Top, Amazon)
Hero Arts stamps - Celebrate Everyday (Amazon)
Memento Luxe ink - Love Letter (Amazon)
Painter’s Tape
Tim Holtz idea-ology - Hexagon Fasteners
Tim Holtz idea-ology - Mini Gears (Scrapbook.com, A Cherry On Top, Amazon)
Ranger Glossy Accents (Scrapbook.com, A Cherry On Top, Amazon)
iCraft Super Tape (Amazon)
5.5” x 4.25” card base
It’s hard to believe, but this masculine Father’s Day card is created from this gorgeous ultra-feminine Gingham Gardens paper pad by My Mind’s Eye! By selectively pulling out just a couple of the pad’s black & white prints, and pairing them with a few vintage industrial elements, I was able to create a design that any dad will never suspect originated in a garden of paper flowers!
I started making the card by cutting a scrap piece of black cardstock to 5”x3.75”. Then I used blue painter’s tape to fasten down my “Mini Time Travel” stencil by The Crafter’s Workshop. With a makeup sponge, I sponged multiple layers of the copper ink to build up a nice glistening metallic finish. Then I removed the stencil and let the ink dry.
Next I cut and arranged the patterned paper strips, and cut and stamped the sentiment strip. After experimenting first with using copper ink, I chose red ink for the sentiment because I liked the contrast with the black!
To get the length right on the sentiment strip, while accommodating the decorative fasteners, I laid them all out in position. Then I laid a ruler next to them and measured how far from the letters I needed to cut to leave room for the fasteners.
To finish up my card, I attached my sentiment strip with the fasteners, and the patterned paper ones as well. I added a few gear embellishments, using Glossy Accents as adhesive for them. Then I attached the whole thing to a 5.5”x4.25” patterned paper background, and adhered it to a folding card base!
Pulling out basic designs like this to create an entirely different look is just another way to get the most out of your paper collections and pads. What can you make by taking a different look at your paper stash?


