
What can you do with Cricut Smart Paper Sticker Cardstock?
There’s a new Cricut machine in the studio! As many of you have probably heard, Cricut has recently launched new Cricut Maker 3 and Cricut Explore 3 machines…and the Cricut Maker 3 has now landed on my desk (courtesy of Cricut) to do all the crafty things with!
Disclaimer: This post is sponsored by Cricut, but all opinions are my own.
There’s been a lot of attention paid by early reviewers of these new Cricut machines to the new “smart” vinyl and iron-on materials. Like the similar materials available for the Cricut Joy machine, the new Smart Vinyl and Smart Iron-on materials for Cricut Maker and Cricut Explore cut without using a mat. This allows for the cutting of iron-on and vinyl strips up to 12 feet long (and with the accessory roll holder that holds rolls up to 75 feet long, you won’t have to reload as often).
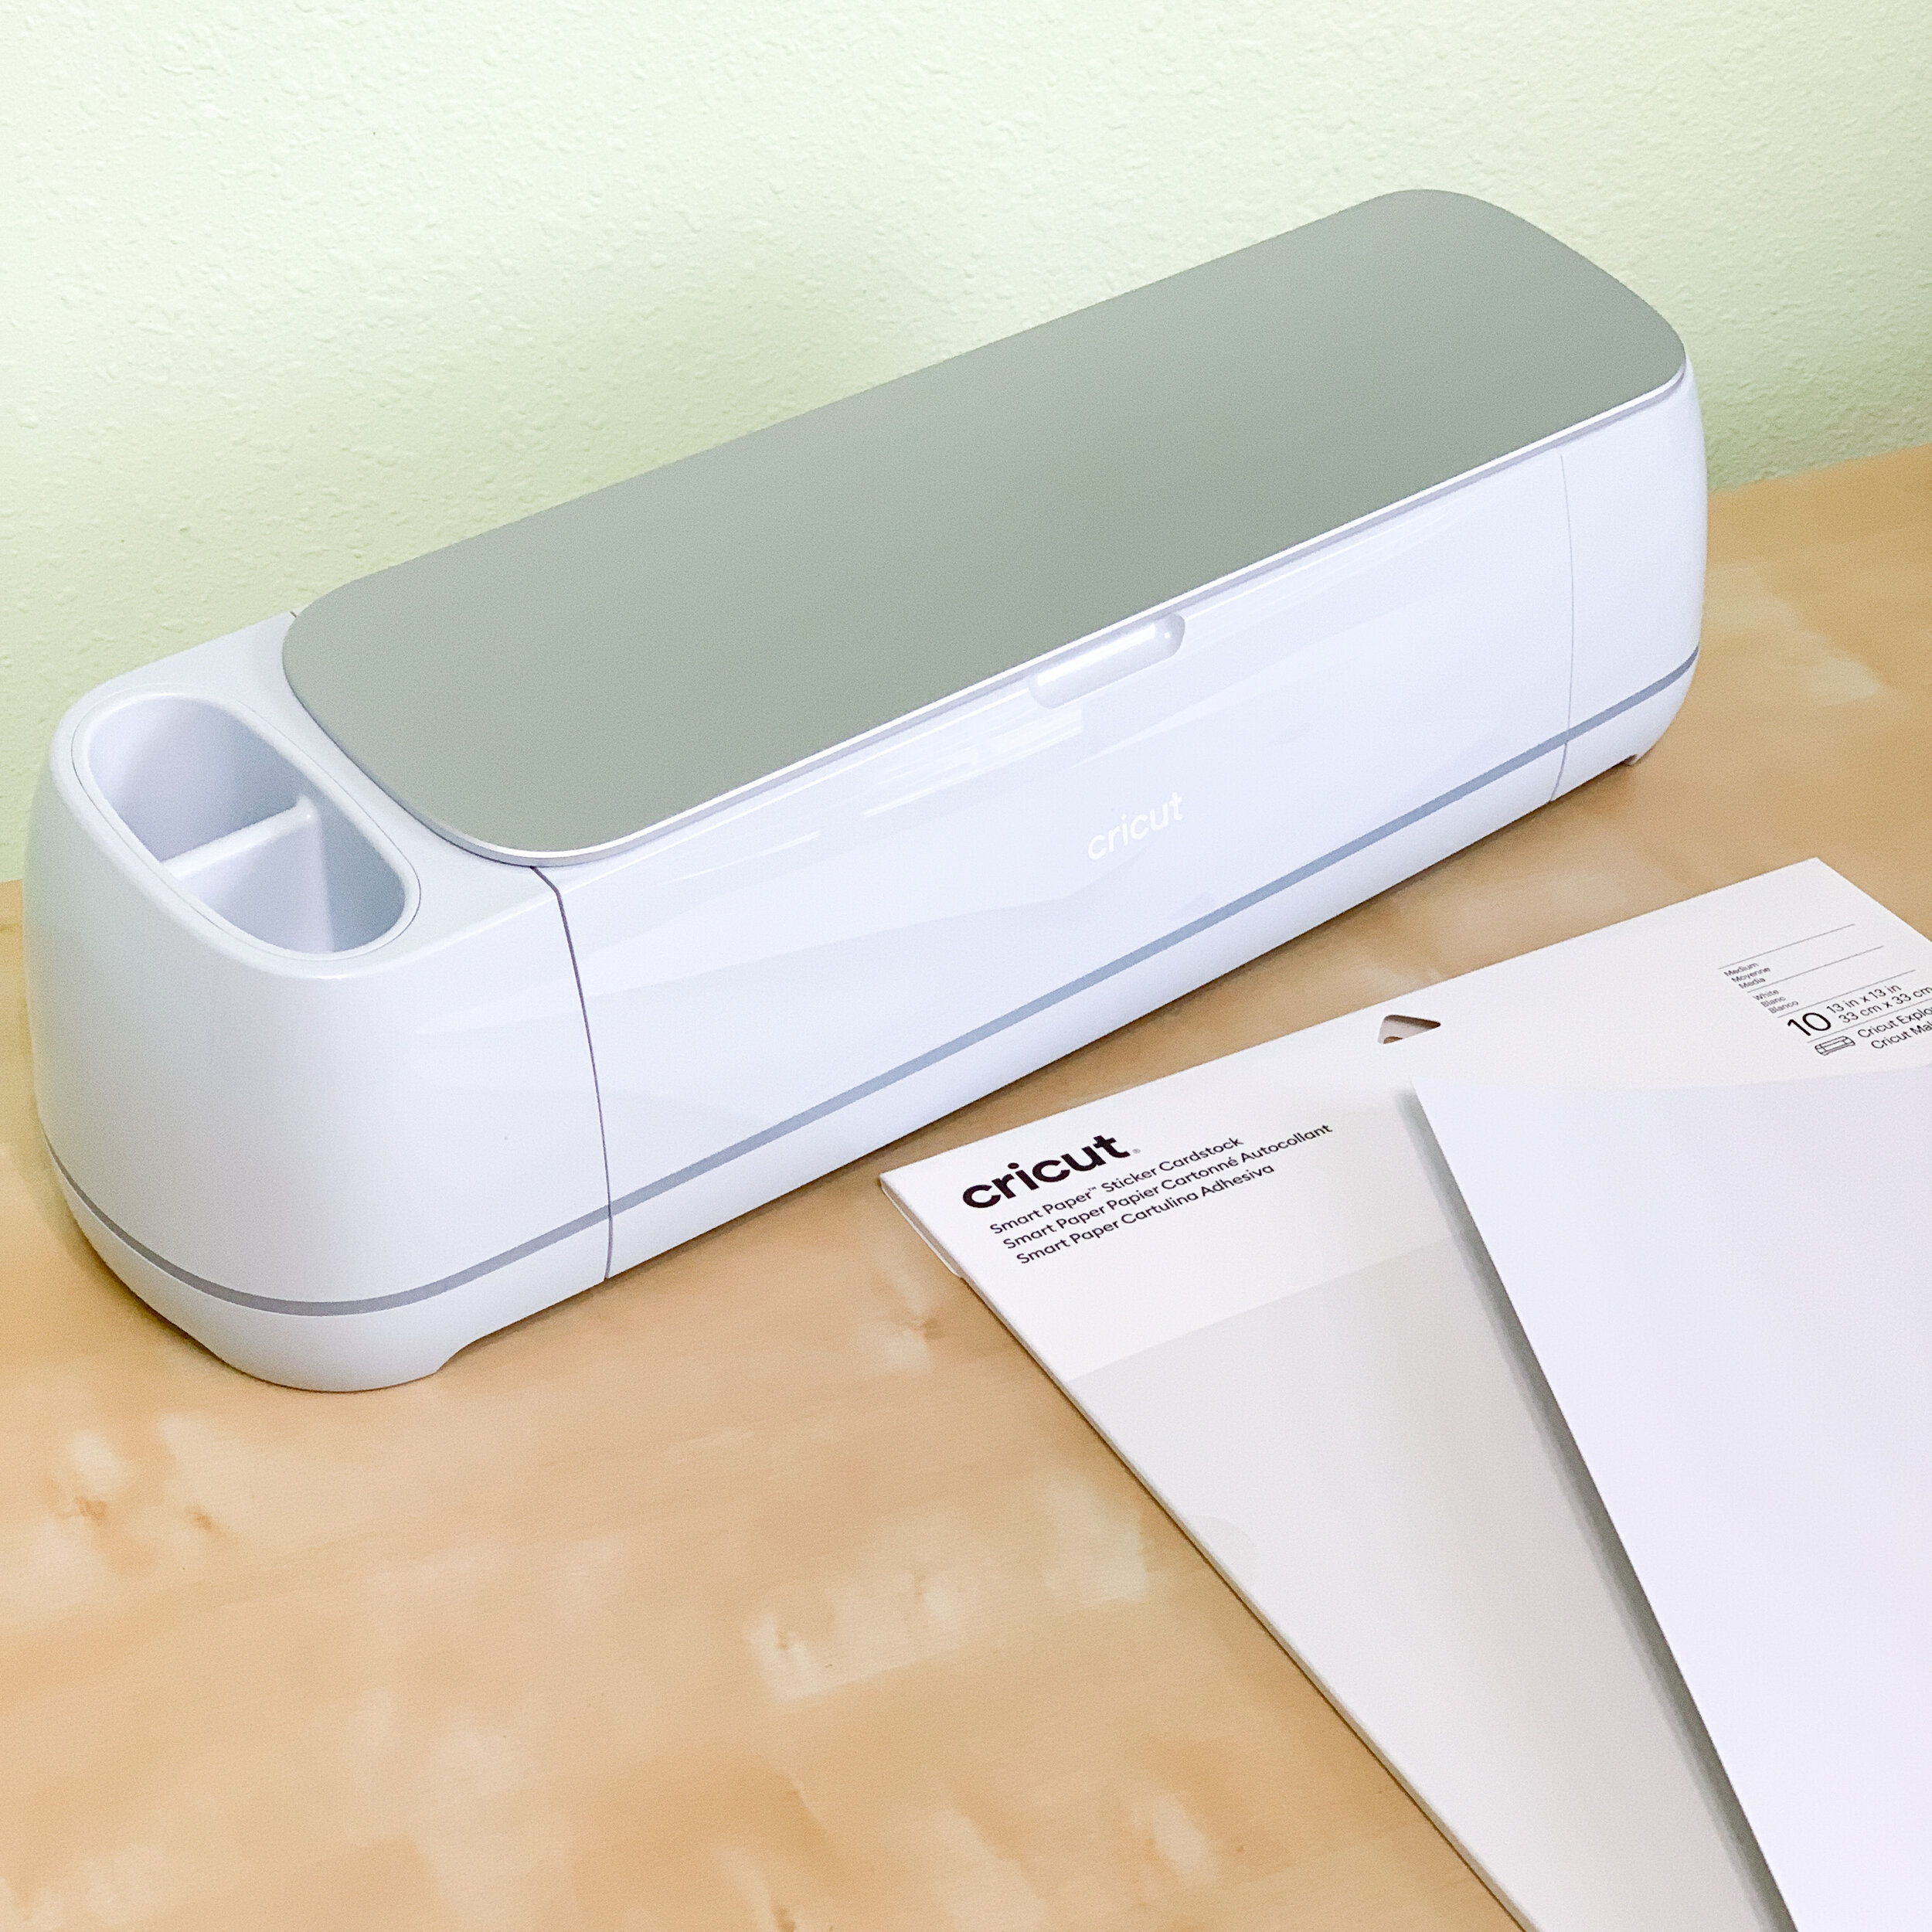
So while it is true that Smart Vinyl and Smart Iron-On have a lot of really amazing possibilities (like banners and custom wallpaper!)….being a papercrafter, I immediately honed in on the other new Smart addition: Smart Paper Sticker Cardstock!
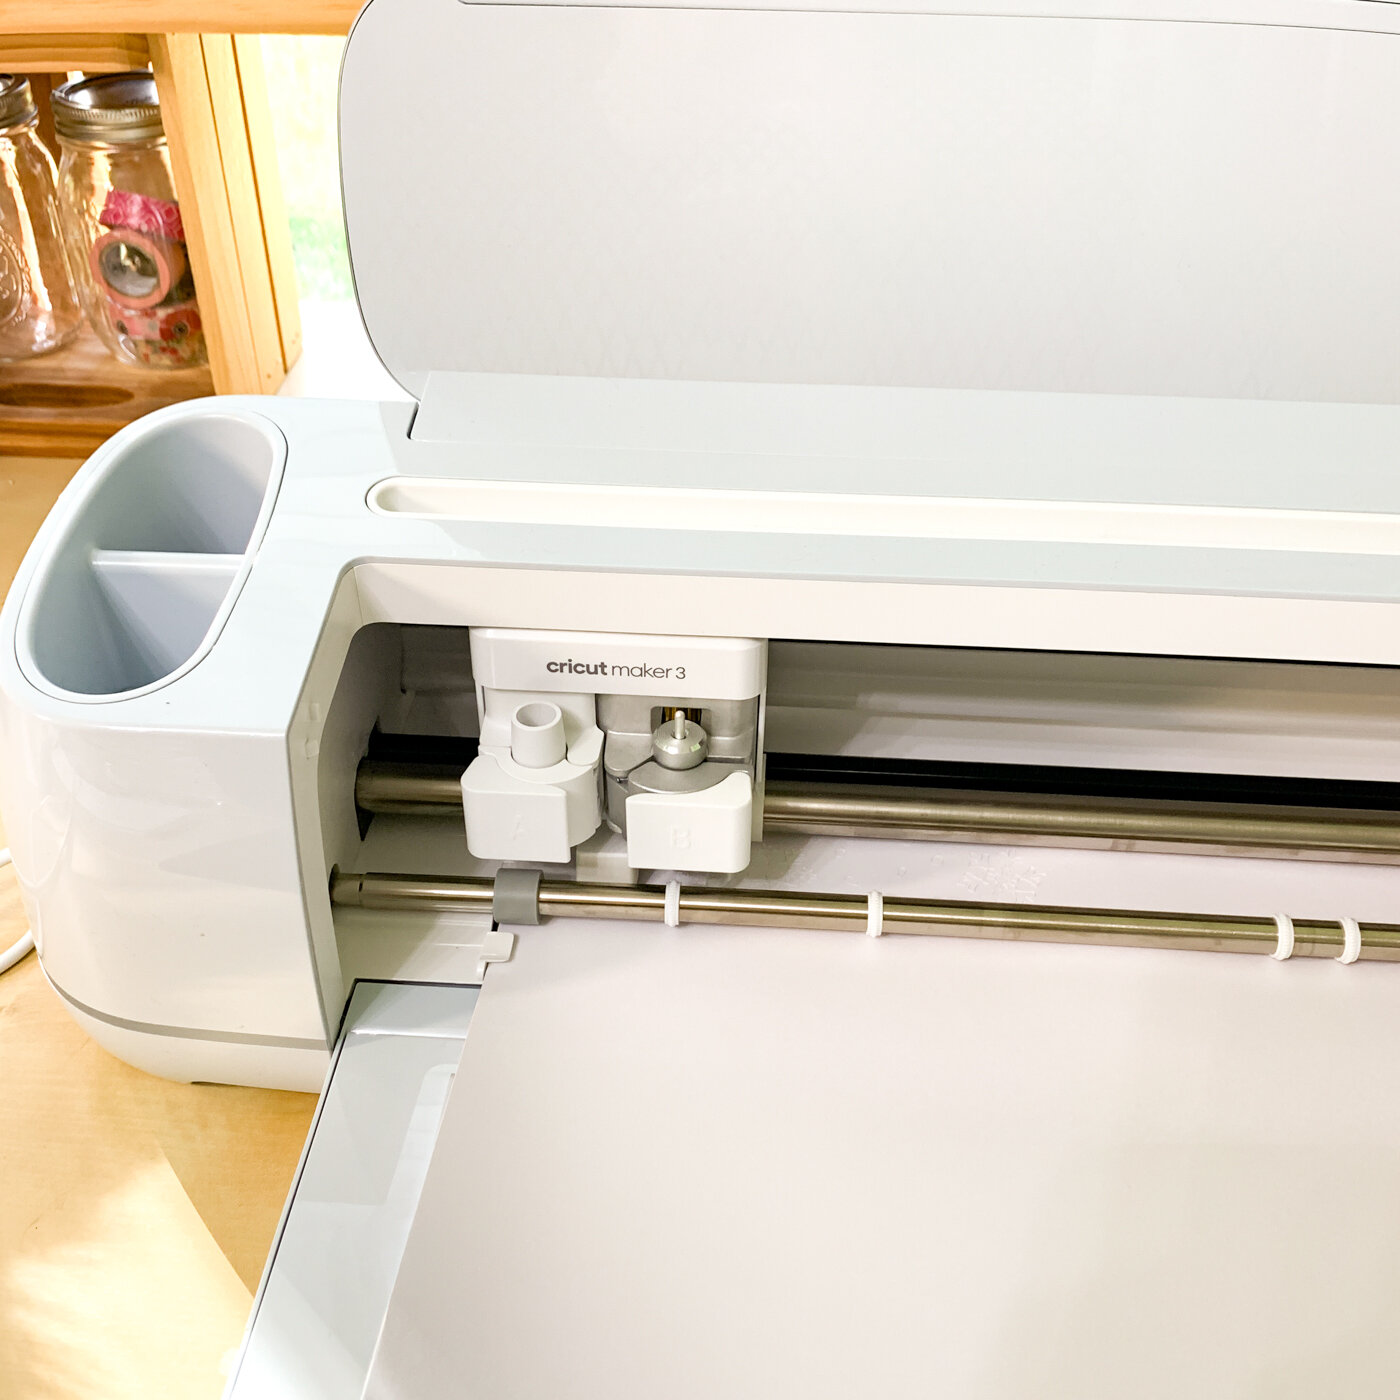
Cricut Smart Paper Sticker Cardstock, like the other Cricut Smart Materials, doesn’t require a mat to cut. The 13” x 13” sheets can be slid right into the guides on the compatible machines (the new Cricut Maker 3 and Cricut Explore 3). The sticker cardstock currently comes in four color versions (white, black, bright, and pastels). After you cut your shape, you can peel it right off the backing and stick it on your project just like a sticker. No adhesive needed!
One other thing that I love about working with Smart materials - I hate, once my cut is done and I’m ready to start assembling my project, having to stop everything to wrestle with the protective sheet and get it back on the mat. Inevitably, it doesn’t go on straight or there’s bubbles…it’s just a pet peeve of mine and with the Smart Paper…I am blissfully mat free! It’s a little thing but it makes me happy.
Now let’s take a look at some ideas for what to do with Cricut Smart Paper Sticker Cardstock for Christmas!

Supplies Used:
black pen
pink pearls
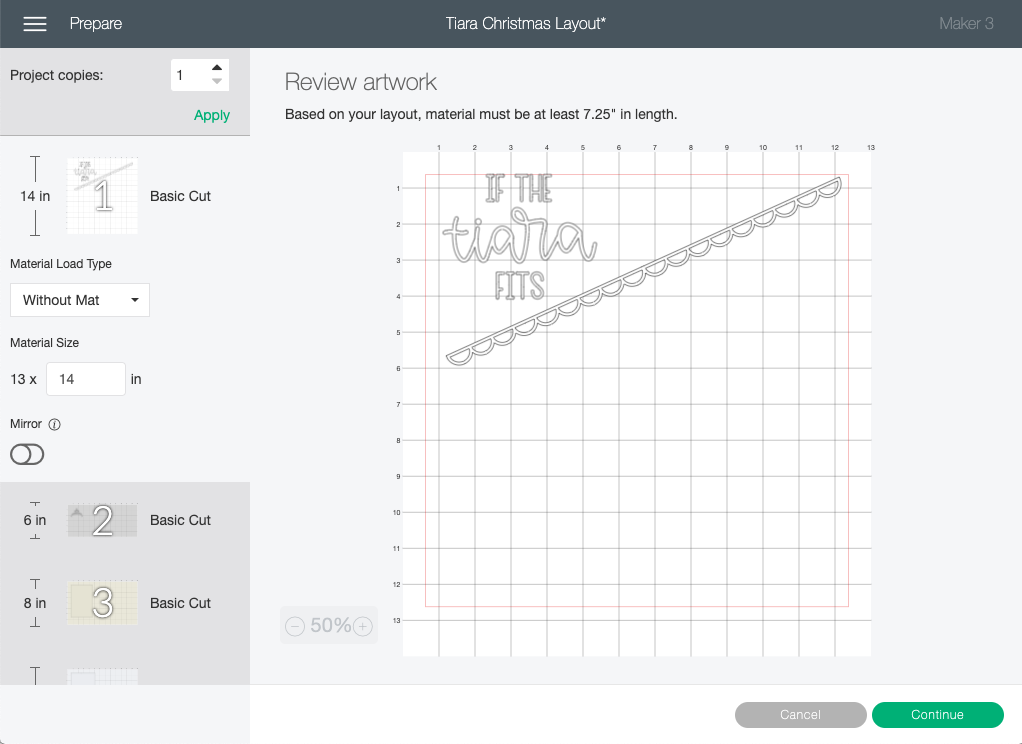
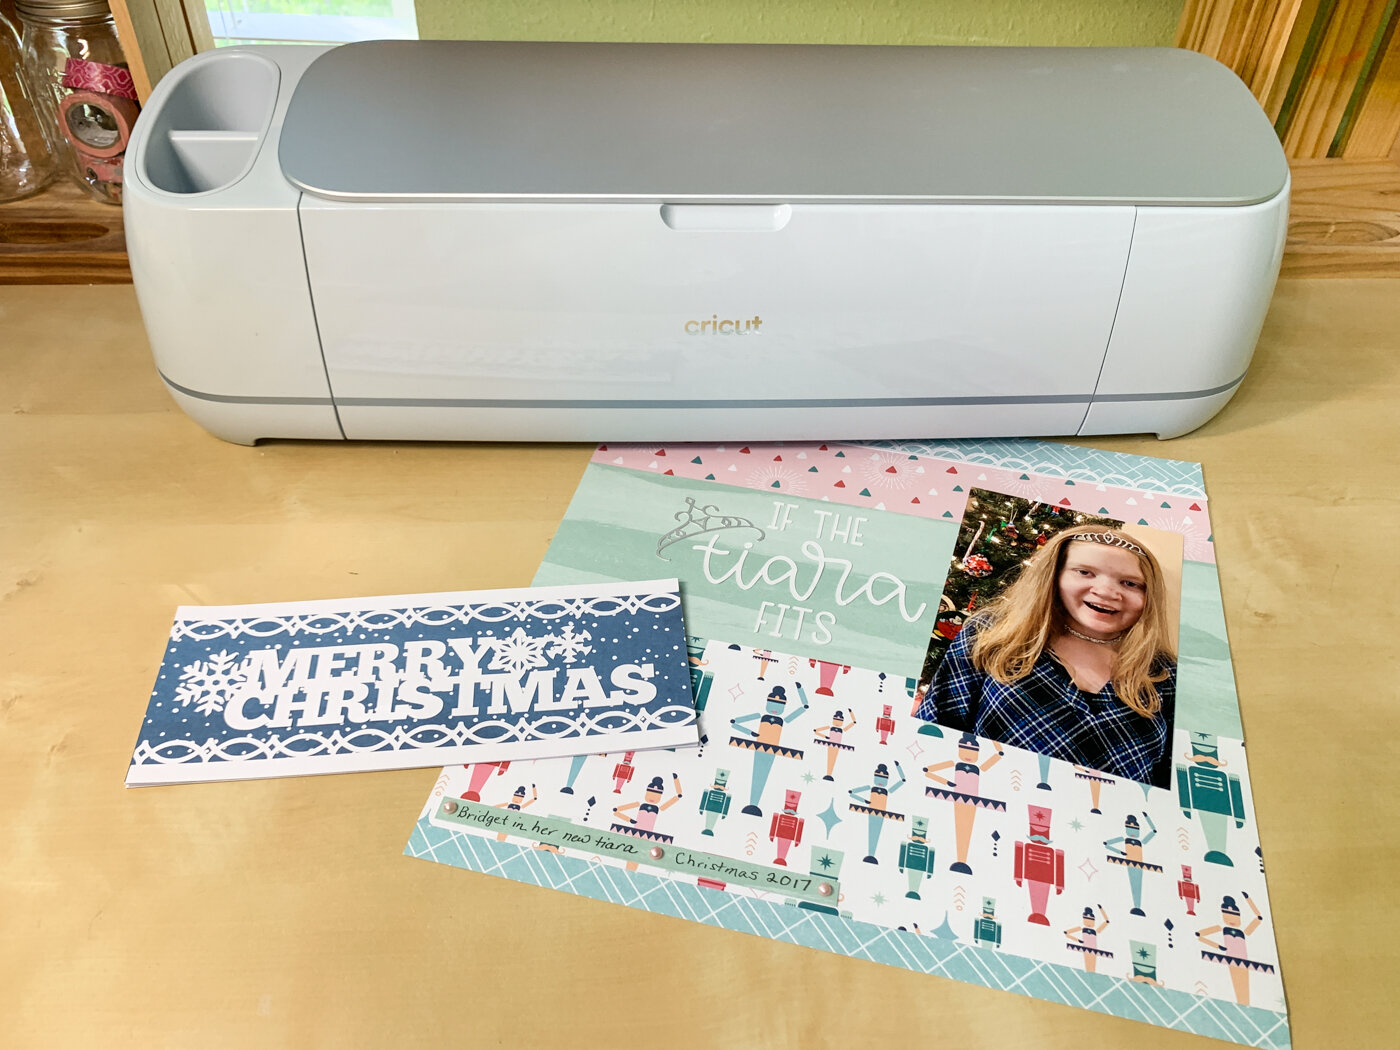
I started out by making a Christmas layout of a favorite photo from Christmas day a few years ago. I’m something of a lazy scrapbooker, and I absolutely hate fussing with putting adhesive on small detailed items. So I almost certainly wouldn’t have even attempted this design without the Smart Paper Sticker Cardstock…all those teeny letters, that lacey border…yikes! But with the sticker cardstock, I just peeled them up and then stuck them down! Best of all, there was no worries about errant globs of liquid adhesive (and I didn’t go cross-eyed trying to line up my paper on my mat with my bifocals, either).
I combined the sticker cardstock elements with a collage of papers from Cricut’s “Mod & Merry” paper pack for the holidays. It combines a non-traditional pastel color scheme with some more traditional nutcracker elements - a great new spin on an old classic!
To add my journaling to the layout, I cut a 5/8” strip of the aqua paper. I wrote my journaling and then added the pearls and snipped it to length before gluing it down.

To get the 12" border in my layout design to fit within the cut area on the sticker paper, I just manually rotated it in the mat preview window so it sits diagonally on the paper. (Cricut Design Space seems to prefer to make elements straight on the mat and so instead of using a diagonal it defaulted to a larger paper size.) I could have filled the other side of the white space on that diagonal so that there was no wasted sticker paper, but I’m not that organized creating my projects!
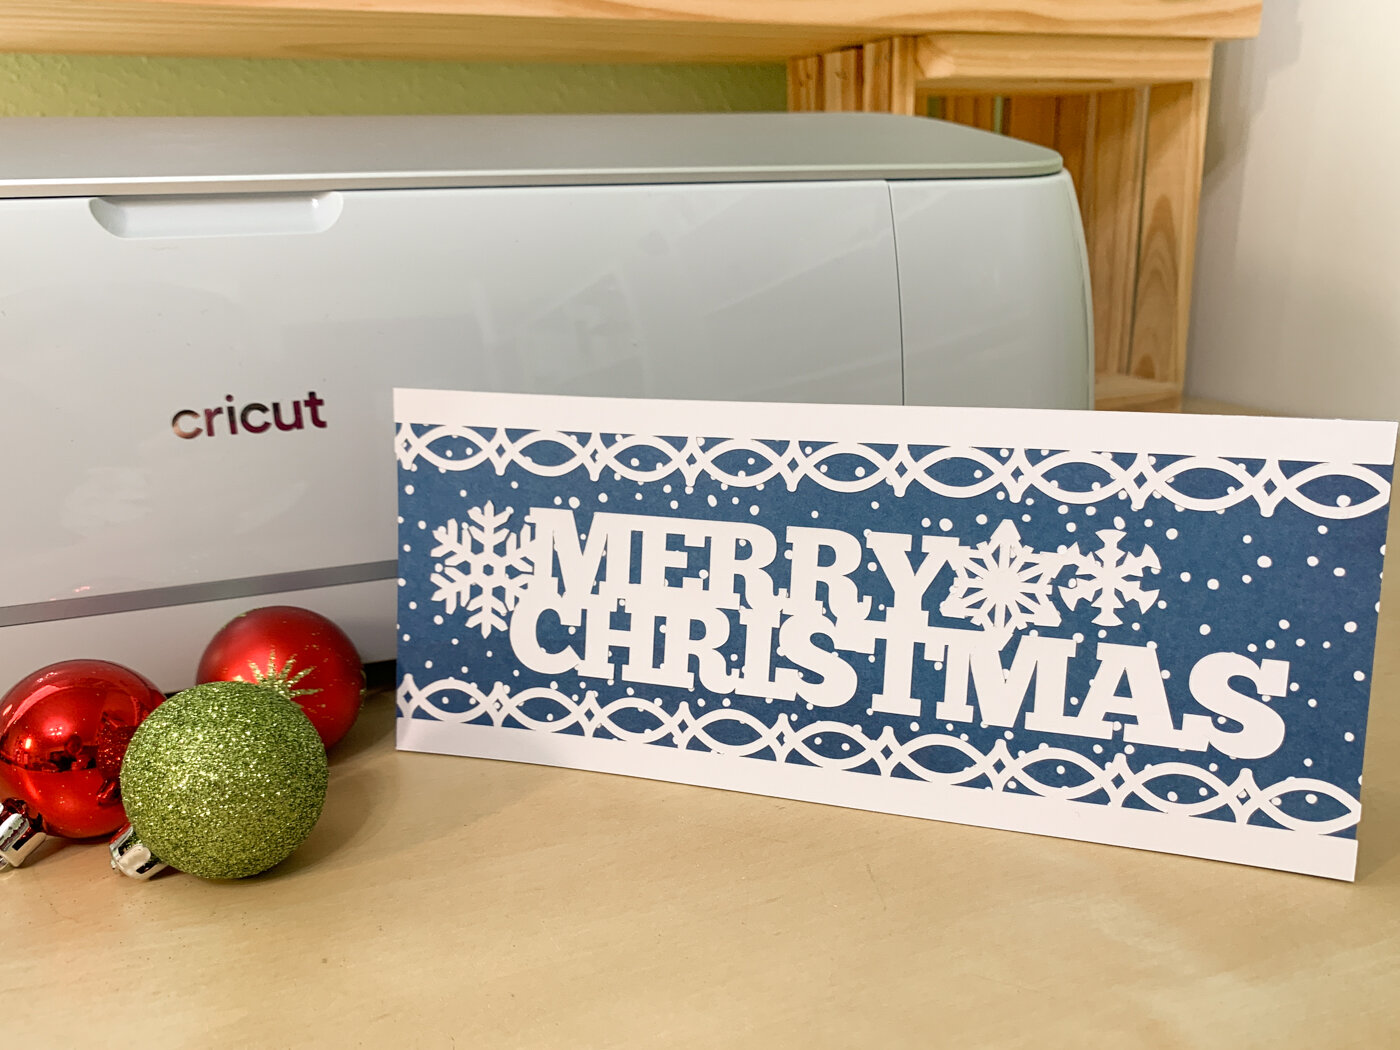
The speed and convenience of using Cricut Smart Paper Sticker Cardstock is perfect for creating large multiples of items like holiday cards or party items - and with the new Cricut Maker, you can cut up to 2x faster than with the previous Maker machine to get your project done super fast! I used the sticker cardstock to create an elegant slimline Christmas card.
Supplies:
white cardstock (for card base)
The simple design of this card uses only two borders and a sentiment, so it goes together in minutes! The tiny details on the border and the snowflakes would be tedious and headache inducing (at best) to adhere using liquid adhesive, but are super easy with sticker paper! You can make the assembly even faster by skipping the patterned paper layer and putting the sticker elements directly onto a solid color card base if you want.
What do you think would be good to make with Cricut Smart Paper Sticker Cardstock and the new Cricut machines? Tell me your ideas in the comments!