
Make a 25th Anniversary Album with Cricut Maker!
Every wedding anniversary is special, but the big ones are even more special! Last year, my husband and I celebrated a quarter century of married life. I decided that milestone called for a special 25th anniversary album - and it was the perfect project for my Cricut Maker!
25th Anniversary Album
[Disclosure: This post is sponsored by Cricut. Cricut and Plaid provided some products used in this post. Some links are affiliate links that pay this site a commission when a purchase is made after a click. This site participates in the Amazon.com affiliate program.]
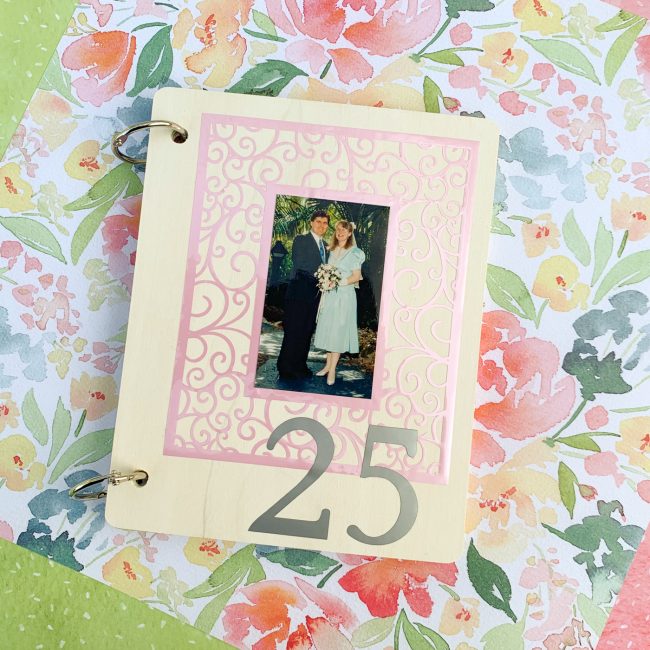
My album combines basswood with a gorgeous paper pack by Natalie Malan. Its minimalist design lets the memories in our photos take center stage.
Supplies Used:
Cricut Knife Blade + Drive Housing (for Cricut Maker)
1/16" thick basswood or Cricut Basswood
Painter's Tape
Sandpaper (220, 320)
Mask
Tack Cloth
adhesive
small binder rings
I started by cutting out the wood parts of my album, four of my pages. (Since I knew I wanted to paint them, they needed time to dry later in the process.) I used 1/16" thick basswood bought from a craft store, but you can save a few steps because Cricut sells Basswood now that is sized perfectly for using on the Cricut Maker! This means you won't have to waste time cutting your pieces down to the size of your mat. And they even sell 11x11 sheets, much wider than I could find locally. This means you can increase the size of your album over what I made if you'd like!
Cutting wood on the Cricut Maker is simple if you remember two things. First, you have to slide the white rings on your machine's roller over to the right, out of the way of your wood. And second, you need to use painter's masking tape to fasten all the edges of your wood down to your strong grip mat. Other than that, just pop in your knife blade and then the gear that you can see above it (in the tool slot on the right below) does all the work!

Cricut Maker cutting wood
After I cut my wood I out, I wanted to give it a little color so it wasn't bare. But I also wanted it to still look like wood! (If you're going to have the ability to cut wood, you want to show it off!) The solution was to use Plaid FolkArt Pickling Wash. By using the Cottage White color, it created a whitewash effect that still let the grain of the wood show through. (Click here if you'd like to see another project made with Pickling Wash that makes a perfect Mother's Day gift!)

Plaid Pickle Wash
While my two coats Pickling Wash dried, I started to cut the elements for my album's cover. For this, I got out my Cricut Portable Trimmer and some Cricut Pink Pearl Pastel Premium Vinyl. I didn't want to waste a single piece of that gorgeous vinyl so I cut a perfect size piece to put on my mat for making my cover frame!
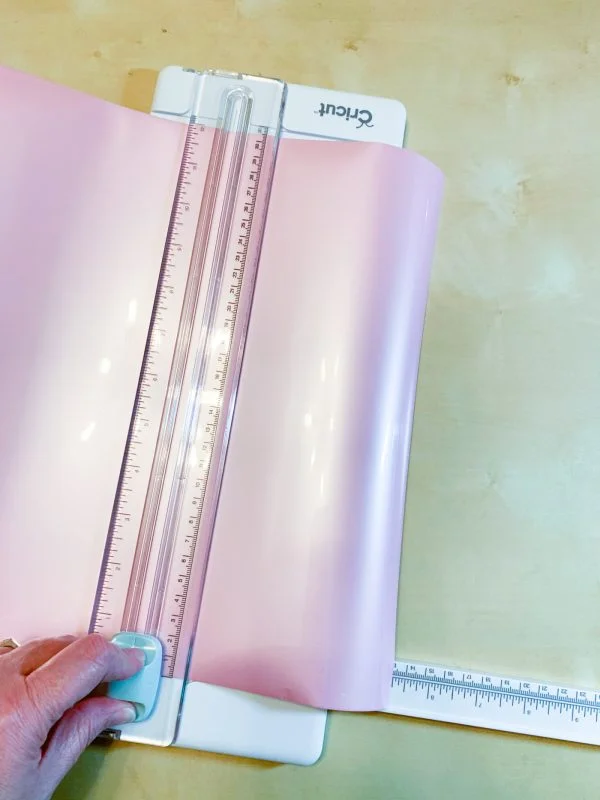
Cricut Trimmer
In case you were wondering if a machine with the power to cut wood can still cut intricate details...I used my fine point blade with the pink pearl vinyl to cut the cover frame.

Cricut Maker cutting vinyl
And this was the result - perfect, intrictate detail, even on the spots that were almost too tiny for my weeding tool to poke into! Even with all this detail, though, the weeding tool from my Cricut Basic Tool set made quick work of removing the waste areas.

Weeding Cricut Vinyl
After adhering the pearl vinyl frame, I cut a photo to fit inside it and adhered it. The number "25" was cut from Matte Adhesive Foil. Inside the album I used regular vinyl, but for layering over the pearl vinyl on the cover the thicker foil I think looks better.

25th Anniversary Album
In addition to the wood pages, I cut several more from paper. The inside pages of the album were scrapped just like mini versions of regular scrapbook pages. I designed several layouts in Cricut Design Space, and then duplicated and modified them to fit my photos and title elements on each page.

25th anniversary album
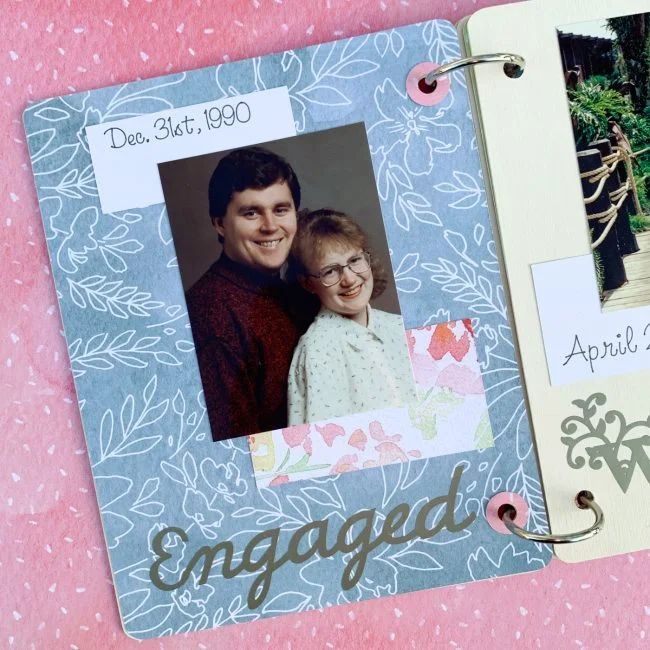
Since calligraphy is far from my area of expertise, I used my Cricut Maker's pen feature to create pretty lettered dates for each page of my 25th anniversary album. (Tip for using the pen: Don't forget to "attach" the text layer you want to write to the paper layer you want to write on!) When I use my Cricut pens, I use the reverse side of the Cricut cardstock. That side is smoother, and gives better results with the pens.

Cricut Maker with pen
To tie the pages of the album together, almost all of them contain the same three elements: the floral patterned paper, a white date block, and a silver vinyl title element. As you can see in the sampling of the pages below, I did deviate from this pattern in creating the page about my daughter's birth. I thought she deserved a special highlight! But even in doing something a bit different, I still stayed with the white cardstock, black pen, and the same pink pearl vinyl from the cover, so it fits right in.

25th Anniversary Album
25th Anniversary Album

25th Anniversary Album

25th Anniversary Album
It's way overdue, but thanks to Cricut Maker we finally have an album for our 25th wedding anniversary! I can't wait to share it with family and friends.
What occasion could Cricut Maker help you make an album for?
This is a sponsored conversation written by me on behalf of Cricut. The opinions and text are all mine.