Make a Watercolor Fall Leaf Card with Cricut Scoring Wheel!
Fall is starting to sound really good with the July heat here in Florida! So today, I decided to bring some cool fall weather to my studio with the help of my Cricut Maker and the new Cricut Scoring Wheel.
[Disclosure: This is a sponsored post for Cricut.]
Fall Watercolor Card with Cricut Scoring Wheel
When I first got my Cricut Scoring Wheel for my Cricut Maker, I was going over a list of the materials that the Cricut Double Scoring Wheel will work with: shimmer paper....sparkle paper...watercolor paper...heavy cardstock.... Wait! Back that bus up! Did that say watercolor paper?
It did! Because the new Cricut Scoring Wheel works in the Adaptive Tool slot of the Cricut Maker machine, it has up to 10x the scoring pressure of the previous Scoring Stylus. And that means that it can create scoring lines in materials like 140lb watercolor paper that the stylus just can't stand up to.
I love using watercolor techniques - and thus watercolor paper - in my card making. But the challenge it brings is that watercolor paper is extremely heavy and doesn't fold well. So working with up until now meant making a separate card front with it, or having to design my card so that the watercolor was an element not the whole card front. It was limiting.
Being able to create score lines in watercolor paper with the Cricut Double Scoring Wheel means creative freedom from all of those limitations. I really pushed the limits of my new freedom for this card. I created a card that is a watercolor paper base, and has a see-through element as well.
Supplies Used:
140lb watercolor paper
brown brush marker
watercolors & water brush
art tape or painter's tape
heat gun (optional)
red liner adhesive tape
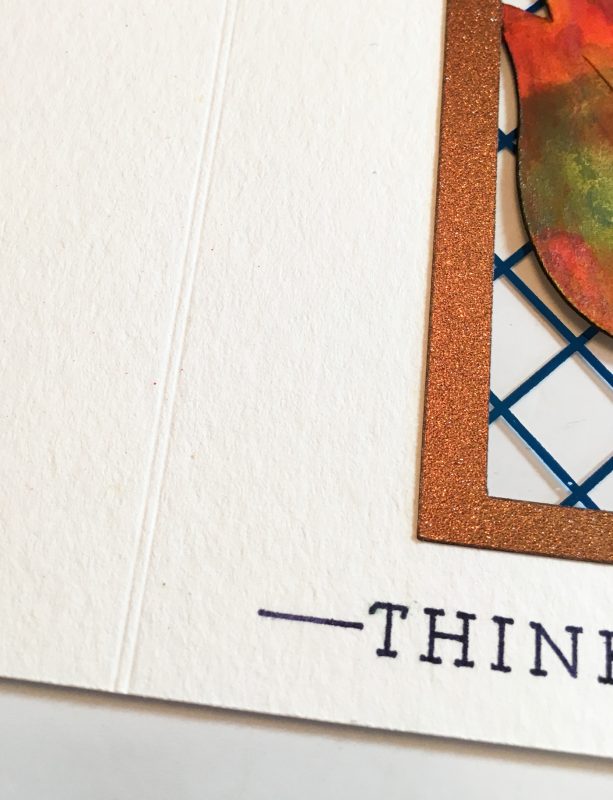
Cricut Double Scoring Wheel lines
The Cricut Double Scoring Wheel makes two scoring lines close together. This creates a more gradual fold that doesn't break the surface of the material when folding heavier materials like foil paper, cereal boxes, kraft board, lightweight chipboard, and more. (Don't worry if you aren't certain which Cricut Scoring Wheel is the correct one for your material. Your Cricut Maker machine will tell you which one to use after you select your material in Design Space!)
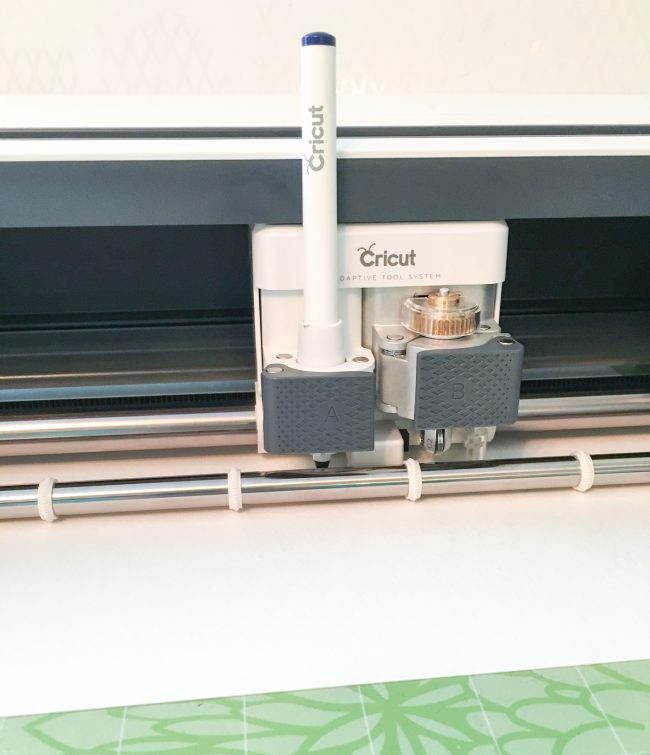
Cricut Scoring Wheel in Cricut Maker machine
There is one other benefit of the new Cricut Scoring Wheel working in the Adaptive Tool slot of the Cricut Maker machine - it leaves the pen slot open! This means that drawing and scoring can be done in one set-up of the machine (assuming you are only using one pen color). With the Scoring Stylus, you have to do the pen, then the machine stops and you have to swap the pen for the the stylus before you can score. The new process of being able to do them both at once is much more efficient!
To start my watercolor fall leaf card project, I cut the project out on my Cricut Maker. I cut the main part out of watercolor paper, the frame for the front out of shimmer paper, and the back for the window out of foil acetate.
Fall Watercolor Card prep
Once my pieces were cut I used my art tape to tape my card base down to a surface for painting. (Painter's tape would also work.) I also used the tape to cover the sentiment that was done in pen by my Cricut Maker, and also to create a border around the window to keep my watercolor from migrating. It only takes a few moments to do this, and it is a good way to prevent paint disasters. Also, if the card base isn't taped down, the watercolor paper will curl when it dries after painting.
Fall Watercolor Card in Progress
My first layer of watercolor was started with an olive green color from my watercolor set. I used my waterbrush and just made random dabs of the olive from the palette onto the dry watercolor paper. Then I spritzed the leaf lightly with water. I grabbed a clean watercolor brush and started filling in between the green with a nice saturated yellow. Then I spritzed again to make it blend well. To speed the drying process, I used a heat gun.
Fall Card marker edges
After the green and yellow was dry, I started my next watercolor layer. The next layer was a reddish-orange color. I used a small waterbrush for applying this color, and then spritzed it to blend it. Then I dried it with the heat gun again.
The final layer was some brown, applied the same way as the red. In addition to making random spots, I also filled in the stem with the brown, and painted along the vein lines with it.
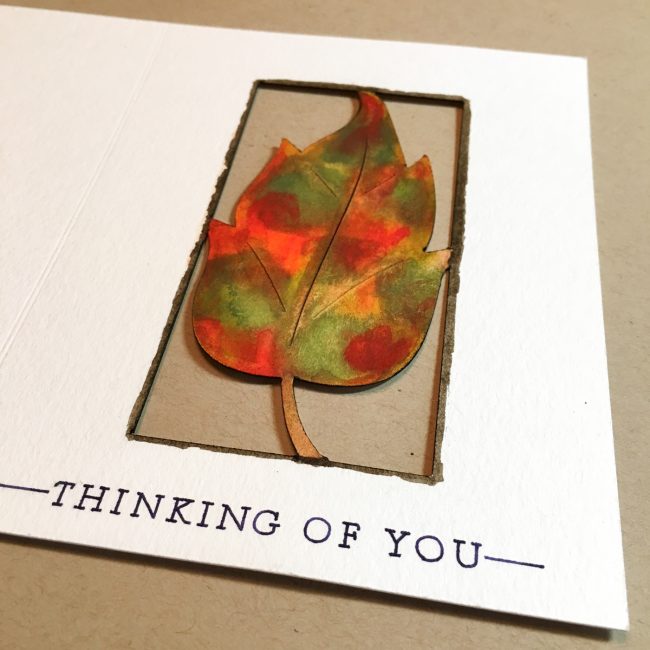
When I was done painting, I used a brown brush marker lightly edge along the leaf and frame to cover the white edges. I also colored just a little bit of the front of the opening. I also did the same thing to the white edges of the shimmer paper frame. All of this provides a more "finished" look to my die cuts, and creates a sort of drop shadow effect.
Fall Watercolor Card assembled
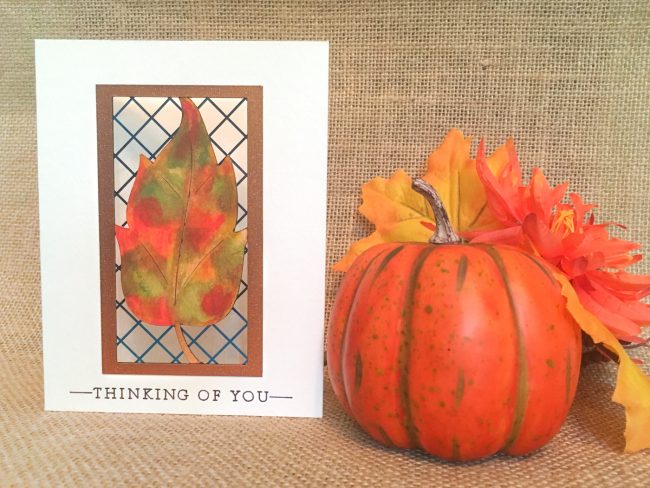
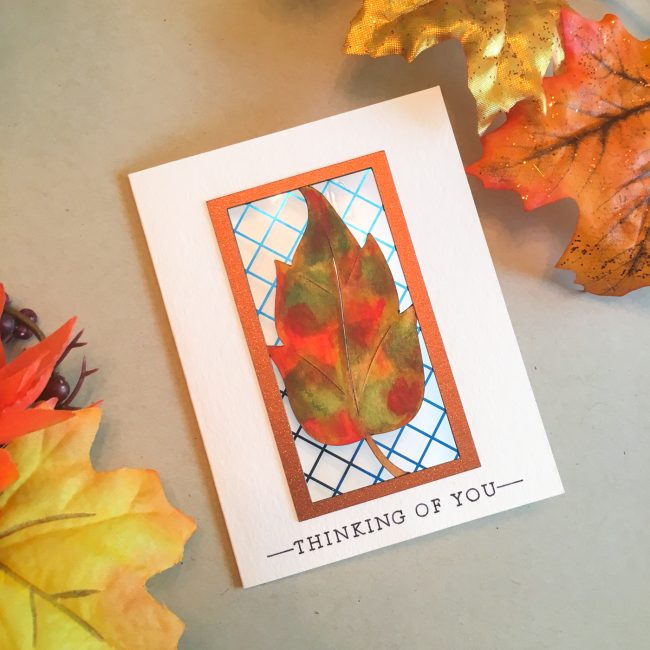
Once my watercolor was all dry, I very carefully removed the tape. Then I assembled the card elements. The Cricut Foil Acetate perfectly matches the Geode Cricut pen I used for the sentiment, and adds a sort of blue sky sparkle to the card. The Cricut Shimmer Paper that I used for the frame picks up the fall colors of the leaf, and makes it a bit more festive.
The final step, of course, is to use the beautiful double scoring lines to fold my finished card! Folding the 140lb watercolor paper was surprisingly easy with the lines from my Cricut Double Scoring Wheel, and I got a perfect edge!
And here is the result!
Fall Watercolor Card with Cricut Scoring Wheel
I chose a "thinking of you" sentiment for my card but the design is suitable for lots of fall uses - a simple hello, happy birthday, and many others. Anna Griffin has a whole bunch of similar sentiment designs to choose from to make it easy to adapt this card to whatever use you need!
Watercolor Fall Leaf Card with Cricut Scoring Wheel
What occasion will use the Cricut Double Scoring Wheel for?
This is a sponsored conversation written by me on behalf of Cricut. The opinions and text are all mine.

