Tie Dye Summer Fun for Kids (and Grown-Ups too!)
Welcome to the Summer Fun blog hop!
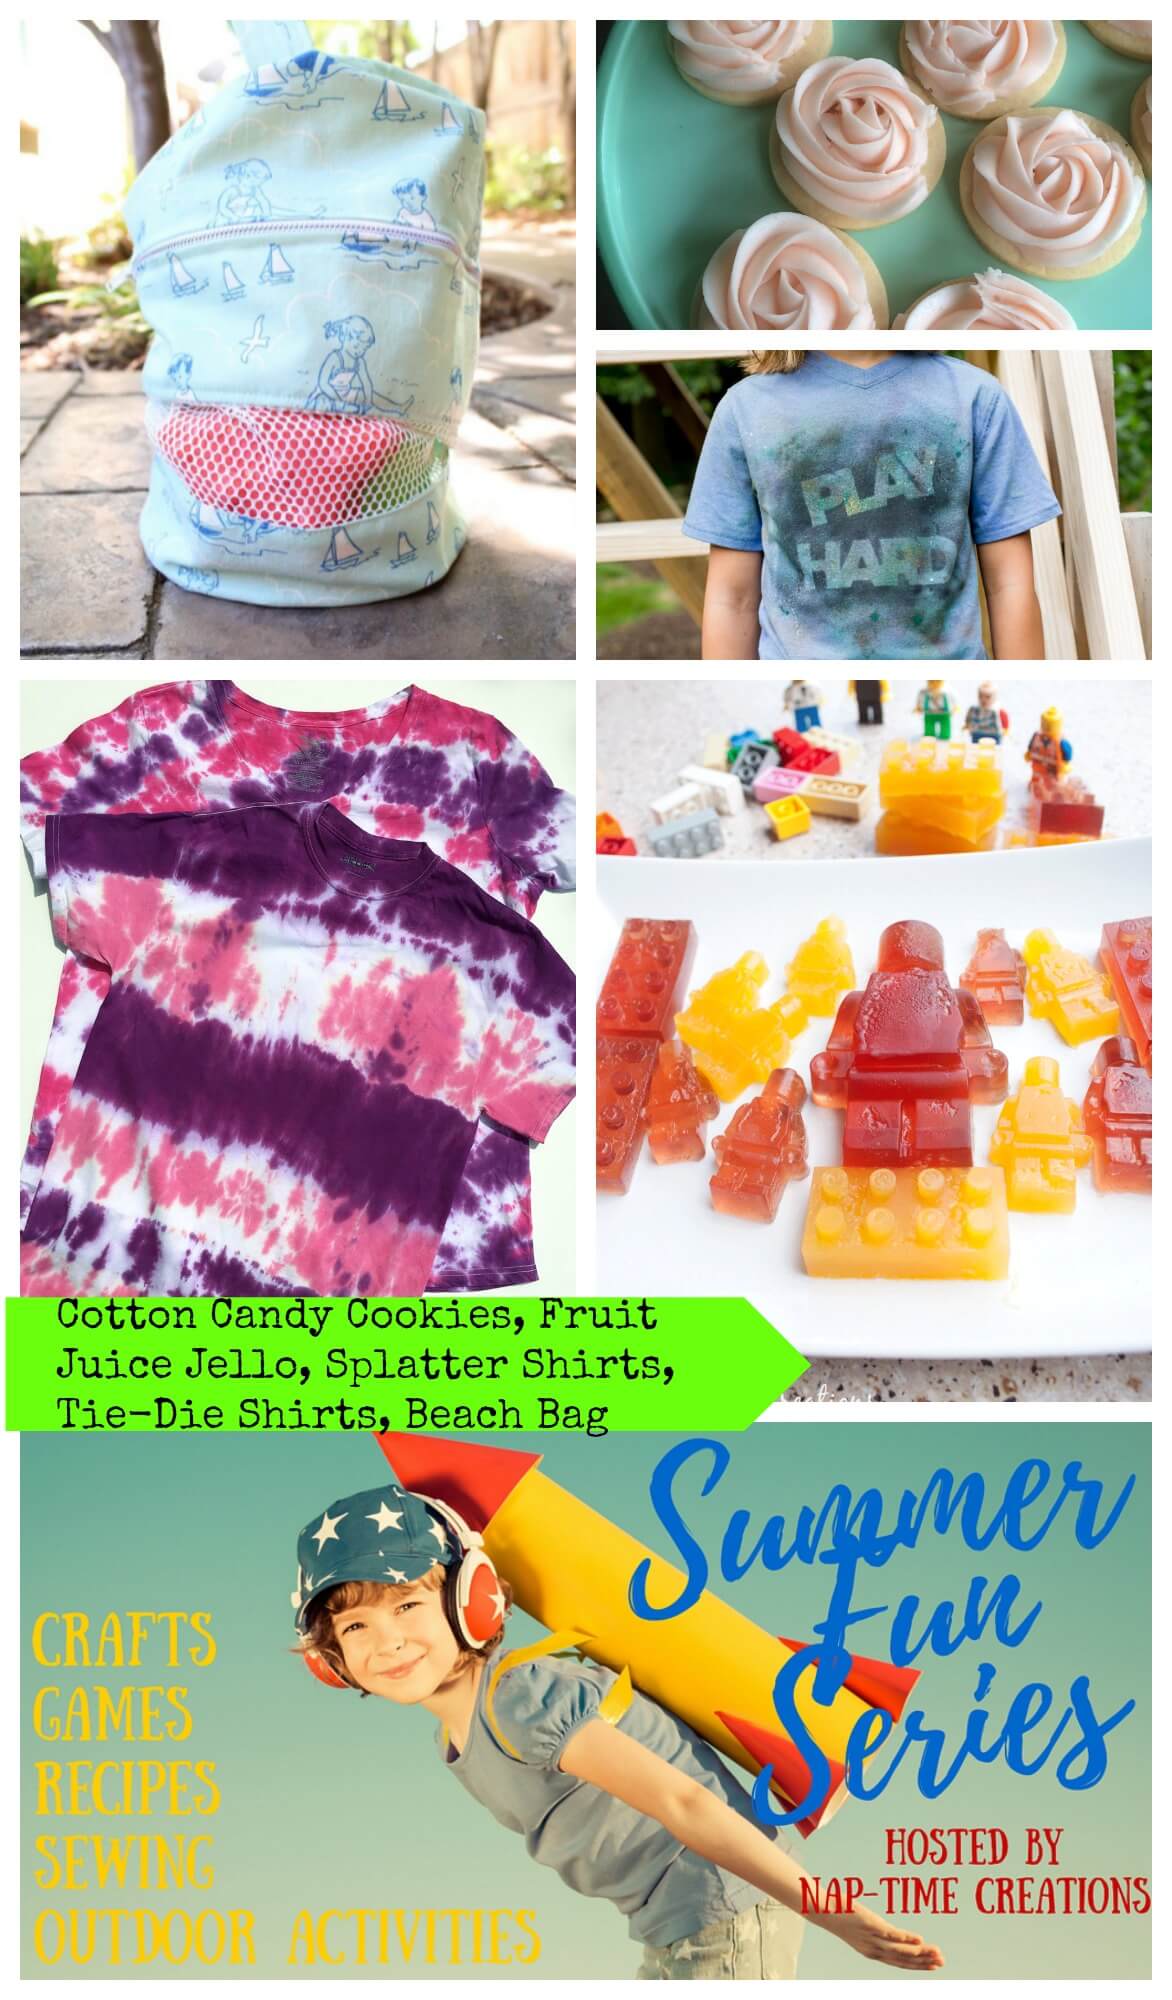
Today I've got a fun project that will not only keep bored kids busy - it will create something practical they can use and enjoy all summer long. I'm talking, of course, about that never-goes-out-of-style tie dye!
[Disclosure: Some product used in this article was supplied to me by Tulip for editorial review purposes but opinions are entirely those of the author. This website participates in the Amazon.com affiliate program Some links in this article are affiliate links that pay a commission if you make a purchase after clicking.]
For these shirts (due to a craft fail on my part), I actually ended up working with two different tie dye kits from Tulip: Tulip One Step Mini Tie Dye Kit (Princess) and Tulip One Step Mini Tie Dye Kit (Pixie). They are different color versions of the same product, Tulip's One Step Mini Tie Dye.
I used basic white t-shirts purchased from Walmart and the local craft store for this tie dye project. It's important to get 100% cotton shirts if possible and to also wash them before dying them (let's not talk about how I know that...).
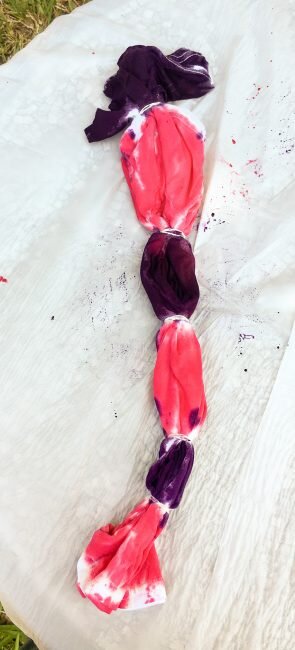
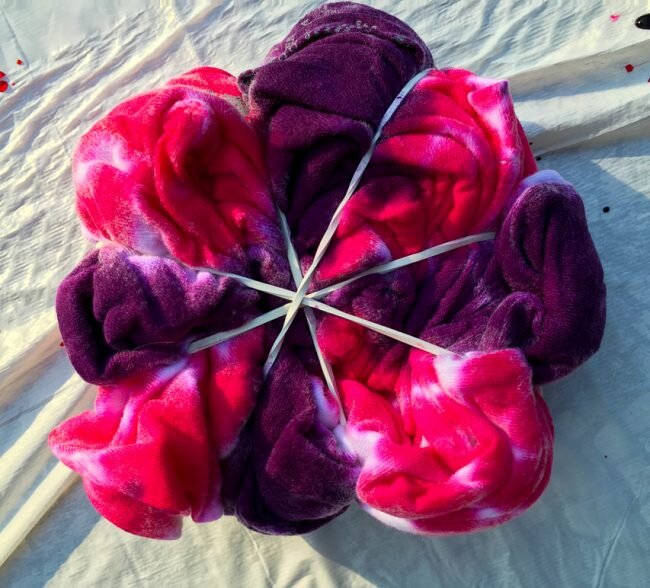
The Tulip dye packages come with instructions for creating various kinds of dye designs on an item. My daughter chose a simple striped design for her shirt, and I decided to experiment with a more complex swirl design. The great thing about tie dye is that there really are no mistakes! Anything you do just adds to the character of the design.
The striped t-shirt for my daughter was dyed dry (and it hadn't been washed on top of that). It used loads of dye - almost two whole of the mini bottles for a medium sized t-shirt.
The upside of this was that the color on the shirt is intense, especially on the purple. And using the dry method meant I controlled exactly where the dye went.
For the swirl shirt, I used the wet method (wetting the shirt before applying the dye) and the shirt had been pre-washed. It used much less dye as the dye traveled a lot through the shirt instead of staying exactly where it was applied. The color was still quite intense but there wasn't the same white borders between the colors since the dye traveled into the banded area.
The result with the swirl design was much more white area than with the stripe, because of the the way the shirt is bunched up to achieve the swirl design.
I recommend completing tie dye projects outside to minimize messes. I cut open trash bags to use as a protective cover for my porch table, and then used the bags to roll the shirts up in while the dye had to set (6-8 hours) before being rinsed. Very efficient!
In all this is a quick and easy (and affordable) project that is practical too. Tie dye is a fun way to work with groups of kids to make t-shirts that then make the kids easily identifiable when you take them out as a group (such as for a summer camp) if you give them a limited set of colors to work with like school colors.
Looking for more summer fun? Check out the links below!

Fruit Juice Jello Lego Snacks - Nap-Time Creations
Zipper Beach Bags - Sew What Alicia
Splatter Shirts - Andrea's Notebook on Nap-Time Creations
Cotton Candy Cookies - Sweet Jenny Belle Bakery


