The Silhouette Stamping Kit with Project Life!
One of the biggest responses I got from readers of CHA Summer coverage was when I wrote about the new products in the Silhouette booth - and specifically the Silhouette stamping kit. The kit lets users of Silhouette machine cut their own custom acrylic stamps using their machines, and generated a lot of excitement.
I myself was very excited to try it so was delighted to get one from Silhouette to try for this promotion. The stamping kit comes with stamping material, 3 stamp blocks, a cutting mat, and an ink pad. There's also a card that allows the user to claim special stamp images for their Silhouette library, and a how to dvd.
What I found was actually surprising. I had somehow thought that the stamp kit was going to be hard to use with some special steps that had to be done. I was pleasantly surprised to find it was quick and easy, like cutting any other medium on the Silhouette.
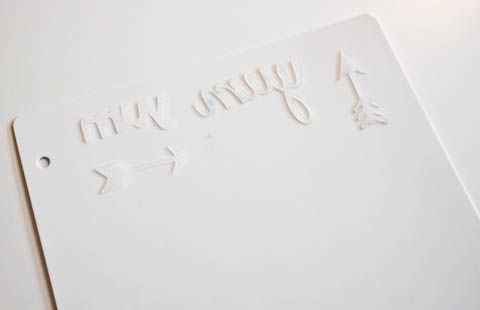
The only real difference to cutting the stamp medium is that you have to use this special mat in the machine with it. Here it is, all loaded and ready to cut with a half sheet of stamp material:
IMG_9202
You just load it into your machine like any other material, select the "stamp material" setting in your Silhouette software, and set your blade. Then hit cut. Just like any other material! I did use a glass brayer to help smooth the material out and get rid of bubbles, but you have to be careful that you aren't stretching the material when you do that or it will distort your image.
The resulting stamps from this material are much thinner than store-bought acrylic stamps, but they definitely get the job done. This material is perfect for creating custom stamps for your kids' names, or your school, or for creating custom sizes of elements to fit a certain purpose.
I created some elements that I sized specifically for using on my 3x4 Project Life cards: the word yum in two fonts and an arrow. These are elements that I can use over and over in my albums.
Silhouette stamps with various ink and paper mediums
Above, you can see the results when these stamps are stamped with different inks and on different surfaces. The large white sheet is Ranger Specialty Stamping Paper, while the two small cards are Project Life cards. The Specialty paper got noticeably better results from both inks. The yellow is a pigment ink from Close To My Heart, and the black is the ink from the Silhouette kit.
I tested the stamps with multiple types of inks and learned several things. First, these stamps will appear to not have much ink on them no matter how much you put on. However, if you press down well, they will give a much darker impression than the ink that is visible on the stamp would appear to be able to provide. Second, the best inks for use with this material were by far really wet pigment inks - and lots of it. Although I didn't test it, I suspect that these would also respond well to paint.
Also, because of how shallow the acrylic is, you'll want to keep lots of baby wipes handy to wipe off the edges of your stamp block. I found I got so much ink on my block I couldn't see through it to place my stamp otherwise!
IMG_9209
Above are the three cards that I ended up with from my first trial with the stamps I made. I made two custom journaling cards, and then I put an arrow on one of my Honey Kit filler cards to jazz it up and make it more specific to a particular picture. The stamps were the finishing touches, and scaled perfectly thanks to my Silhouette software.
How To Store Silhouette Stamps
Once you are done using your stamps, you'll need to store them somehow. I'm using these stamp storage pages that I got from Joann.com.
So what did I do with my journaling cards? I finished one of my Project Life layouts from back in May:
Nancy Nally - Project Life May 2013
Supplies | Silhouette Supplies: Silhouette Portrait Machine, Silhouette Stamping Kit, May by Kristen Magee, 9 Hearts, @Home work play life cards by Loni Stevens, Arrows by Loni Stevens. Journaling Cards: Project Life Honey Core Kit, Project Life 3x4 graph cards, Me & My Big Ideas Gratitude. Cardstock: Bazzill. Pen: Sakura Pigma Micron 03. Patterned Paper: My Mind's Eye 6x6 Paper Pads (My Girl, Happy Day). Ink: Close To My Heart Pigment (Creme Brulee, Pacifica), Ranger Tim Holtz Distress (Picked Raspberry), Silhouette. Labels: Martha Stewart for Avery. Washi Tape: Teresa Collins (Memorabilia). Stamps: Two Peas In A Bucket (Nailed It by Shimelle Laine). Flair: Prima (IOD Everyday Vintage).
Here's a closer look at the two pages:
IMG_9226
IMG_9223
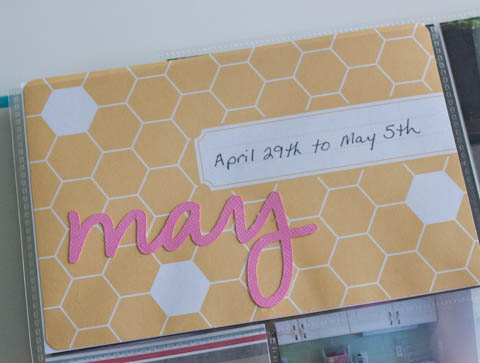
For the title block, I used a card from the Project Life Honey Core Kit, but added a die cut title element (May by Kristen Magee).
IMG_9230
IMG_9227
The bottom corner combines journaling and a photo in a single 4x6 block. I stamped with blue ink to help highlight my car in the photo. (Note that for fun, I put my car getting repaired next to the picture of the Barbie car that threw a hubcap!) Above it, I die cut the heart (9 Hearts) out of a somewhat vintage floral, which may seem out of place with the graphic Honey kit, but somehow it worked. I inked the edges to help it stand out from the busy striped background.
IMG_9228
One the right hand page, these two journaling cards appear to be separate entities but actually group together to make one phrase: Life is better when we are together @home. The blue arrow on the 3x4 card was perfect to highlight Mike in his blue shirt. I carried the blue through to the @Home die cut card (@Home work play life cards by Loni Stevens).
IMG_9229
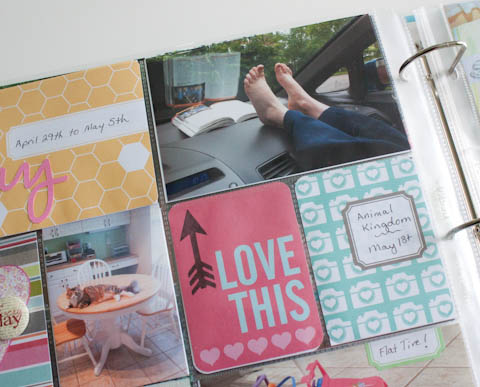
I used my Silhouette arrow stamp to highlight this fun picture of Bridget lounging in the front seat of my car while waiting for Daddy on a Saturday morning. Next to that card is a camera design card that I've put a sticker on that serves as a placeholder to indicate another event took place that week - our Animal Kingdom day - which has its own entire spread on the previous page.
IMG_9231
My custom journaling card worked perfectly for an important story about my husband cooking for me on his visit home that week. I love that I can use this stamp over and over but with different color inks to create lots of food journaling cards!
IMG_9232
IMG_9233
In addition to the Honey Core Kit, I also used a couple of cards from another kit. The striped card and the colorful text are from a pack by Me & My Big Ideas called Gratitude from their new Pocket Pages line. I found them at my local Michael's store.
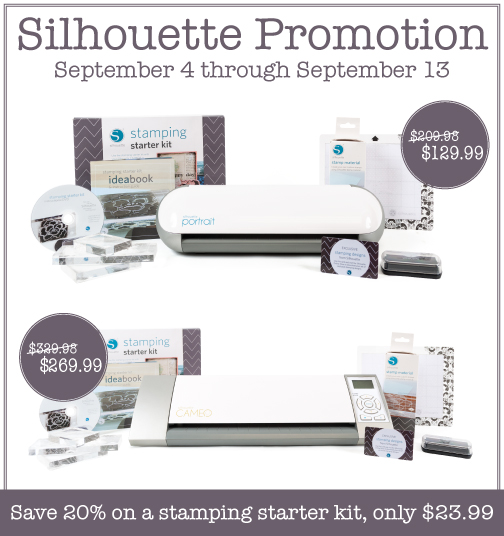
So if you are excited about getting the new Silhouette Stamping Kit to make your own custom stamps with your Silhouette, now is your chance...Silhouette is running a great promotion on it, along with their Cameo and Portrait machines, when you use our code UPDATE. These are great deals you can't get anywhere else!


