Using Project Life To Make A Spring Break Mini Album
As a user of the Project Life system, I am always looking for opportunities to use my Project Life kit elements in other projects. I do love the ease of a pre-made kit, but I also like variety and so I add in my own supplies to my Project Life layouts. The result is that I always end up with plenty of leftover 3x4 and 4x6 printed cards that aren't going into my Project Life album.
[Disclosure: This site is a participant in the Amazon.com affiliate program. Some links in this article are affiliate links that pay this site a commission when a purchase is made after a click.]
My nephews were coming to Florida to visit for Spring Break and I thought the Project Life Olive edition would provide a fun tropical color palette for a mini album about our adventures.
spring-break-album-pages
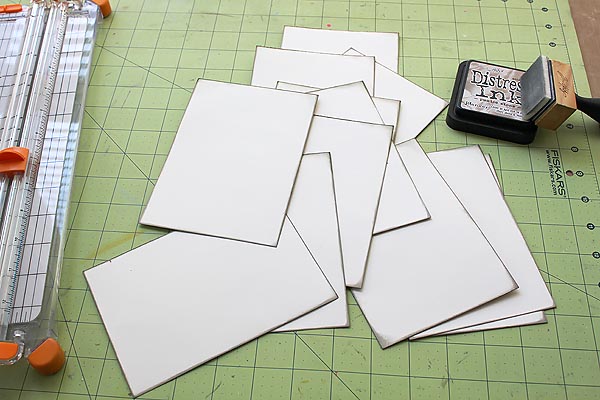
I cut my base pages at 4.5 inches wide by 6 inches long. Before assembling anything, I inked the edges with Pumice Stone distress ink.
Next, I cut out some shapes and phrases with my Silhouette and gathered up a number of extra envelopes, pockets and transparencies to add as additional pages. Because the size would be nice and small, I felt that binding rings would be enough to keep the album together.
I have included one 3x4 journaling card on just about every page in the album. That leaves enough room to add in a square photo to each page.
Not only am I using the 3x4 journaling cards, but I'm also cutting up some of the 4x6 cards to use as additional pattern paper as needed. I covered the back of this envelope with an orange floral 4x6 card, cut to size. The page on the right includes one of the fold over journaling cards, adding an interactive element.
I have also left a few of the pages blank so that I can add full sized 4x6 photos or several smaller photos to the page.
On this page, I cut a strip from a pink 4x6 card to add a border on the bottom of the page.
On this page, I trimmed another 4x6 card and used it to create a pocket. I'll be able to include receipts or movie tickets or notes the boys write.
Featured Supplies | Kit: Project Life (Olive). Cardstock: Bazzill (Walnut Cream). Ink: Ranger Tim Holtz Distress (Pumice Stone). Digital Cut Files: Silhouette (spring break phrase, hello sunshine phrase, sun shape). Punches: Fiskars (Medium Cloud, Large Cloud).
That is just a few of the pages in my album. I know they are pretty simple as is, but I haven't forgotten about the embellishments. I gathered up several alphabets for titles, a few washi tapes, some bling for sparkle and various other flowers and chipboard pieces that I can add to my pages when I add the photos.
After my nephews return home and I get my photos printed, my album is all ready for me to add the stories and photos documenting our fun Florida adventures!
If you have any other creative ideas for how you are using your Project Life journaling cards in other projects, please tell me about it in the comments below. I may feature your idea in a future post!
-Tammy Dailor


