Review | Sew Ribbon by We R Memory Keepers
I couldn't write a review of the Sew Easy by We R Memory Keepers without also taking a look at the similarly-named Sew Ribbon, introduced at CHA Summer 2011. Though this tool carries a similar moniker to its sewing-related counterpart, it definitely serves a different function and really shouldn't be compared to the Sew Easy at all, especially based on price-point.
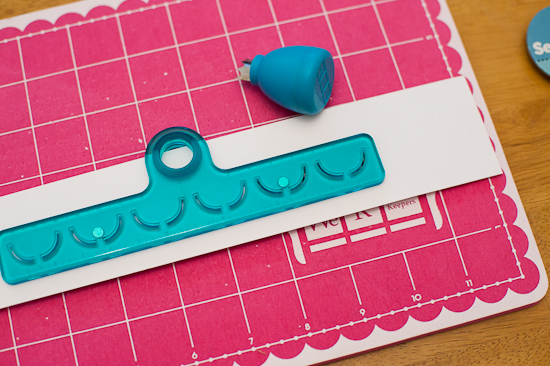
Instead, the Sew Ribbon (complete system with the Scallop punch tool pictured above - a variety of different patterns are available) is more appropriately compared to a border punch, and its MSRP of $14.99 US is right in line with the cost of most border punches currently on the market. The Sew Ribbon tool suite also includes reusable "ribbon needles" (we'll take a closer look at those in a moment) and a selection of ribbon cards (sold separately - MSRP $4.99 US each), though you could certainly use any appropriate width ribbon that you may already have in your stash. I certainly have enough of it piled up from my ribbon collecting days!
The Sew Ribbon tool itself consists of a top and bottom cutting guide and a punch tool. The punch tool nests in the handles of the cutting guides when not in use.
Some readers may recall the Basic Grey Notch & Die tool that was briefly popular several years ago. The punch tool of the We R Memory Keepers Sew Ribbon system looks a lot like the Notch and Die tool, except that it makes a major improvement - the blade is shaped in a way that it cuts through the paper in "stages" rather than all at once as the Notch & Die tool tried to do, making the Sew Ribbon a much easier tool to use. I had no problem getting the Sew Ribbon blade to punch through several layers of paper at the same time!
To use the Sew Ribbon tool, you first need to separate the top and bottom cutting templates. The templates are held together by two strong magnets that also serve to align the templates once the paper to be punch is sandwiched between them.
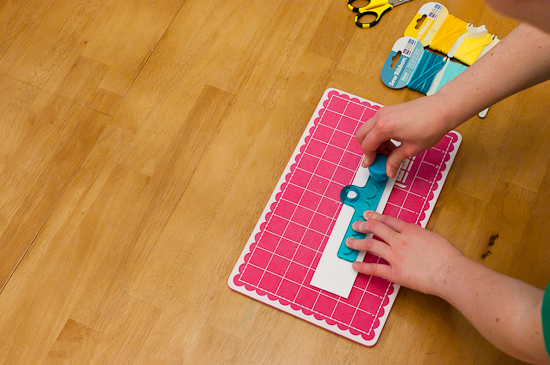
Lay the first cutting template down on a cutting mat (I'm using the same mat that comes with the Sew Easy system), then add the paper to be punched and top with the second cutting template. The magnets will instantly line up the two templates for a perfect cut. This is where the Sew Ribbon system leaves ribbon-threading border punches in the dust - you can use these templates anywhere on your project, even right in the middle of it! That's a place that a border punch simply can't reach.
The notches in the cutting templates are perfectly shaped to the cutting tool, so all you have to do at this point is punch through each notch.
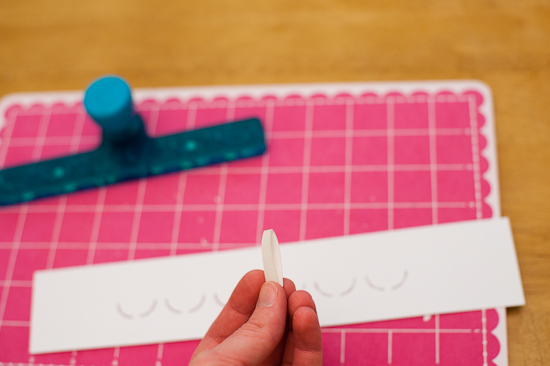
Once you've finished punching, your paper is ready to be threaded with ribbon!
The "ribbon needles" supplied with the Sew Easy system are actually reusable self-adhesive plastic tips. The one I'm holding in the photo below is brand new and still has the protective backing over the adhesive.
To use one of the ribbon needles, simply peel off the protective backing and fold the plastic over the end of your ribbon.
Then use the end as you would a normal needle to thread the ribbon through the holes that were punched earlier.
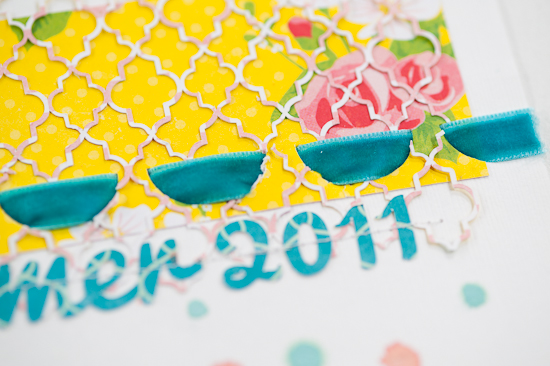
Once you've finished threading, you're left with a perfectly-shaped ribbon strip!
I mentioned that the Sew Ribbon could be used anywhere on a page, not just on the edges. On the layout below I used the Sew Ribbon tool right in the middle of my layout and still got perfect alignment, even through several layers of paper!
The Sew Ribbon tool by We R Memory Keepers can help revitalize your ribbon stash by giving you another option besides the same old bows and straight strips of ribbon. And, like border punches, the system offers a wide variety of shapes and styles, so you're bound to find the perfect fit for your next project!


