Letterpress | Spellbinders Grand Impressabilities
While you've all been patiently waiting for the final installment of my series on home letterpress systems, I've been rather impatiently waiting for today's featured product to become available! I had Spellbinders' new Grand Impressabilities impression plates in my hands almost as soon as they were available from the manufacturer, and I immediately set to work with the same inks and watercolor paper that I've used for the other articles in this series to see exactly what these tools could do.
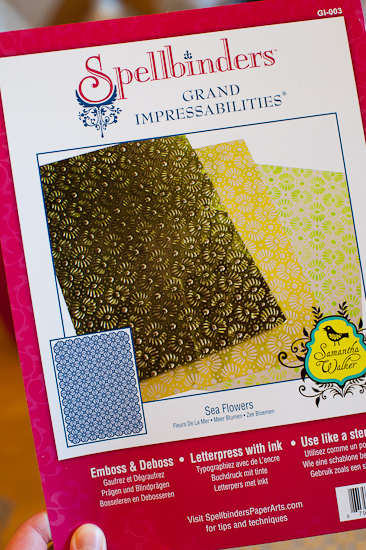
Spellbinders' Grand Impressabilities plates are larger versions of the existing Impressabilities line. Each Grand Impressabilities plate measures 8" x 11", meaning that crafters can emboss and letterpress on nearly a full 8.5" x 11" sheet of paper!
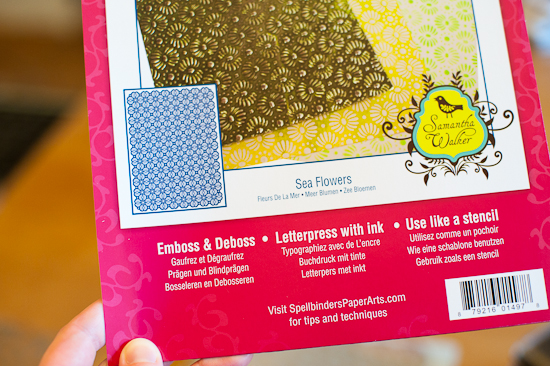
Unlike other tools that have been reviewed so far (such as Papertrey Ink's Impression Plates) that have letterpress as an unadvertised "hidden talent" that sometimes carries some quirks, Grand Impressabilities were designed from the beginning with letterpress in mind - it's even advertised right on the product packaging!
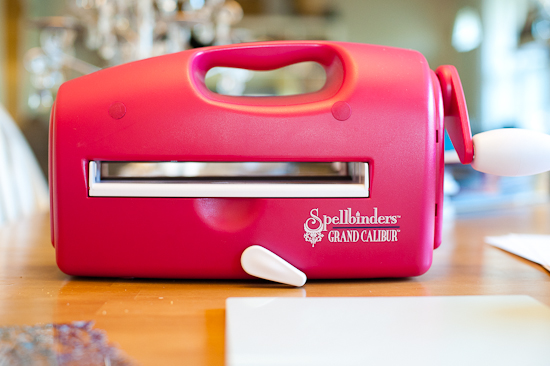
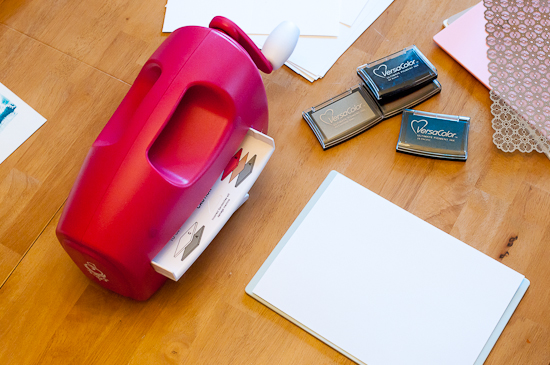
Since Grand Impressabilities are so large, they require a larger die cutting machine than the standard 6 inch platforms (such as the Sizzix Big Kick/Big Shot and Lifestyle Crafts Epic 6) that I've used so far in this series. (Note, however, that the smaller Impressabilities plates will perform the exact same function as their larger counterparts and will work in those smaller machines.) For this review, I worked with Spellbinders' own Grand Calibur machine, but nearly any large-platform roll-through machine should be able to handle these plates.
Speaking of the plates, let's take a closer look at them. Each Grand Impressabilities plate is a large, intricately cut sheet of metal. As you can see in the photo below, instead of creating a relief with raised portions of a solid plate as the other options we've looked at in this series do, Grand Impressabilities create pattern by simply cutting away the non-relief portions of the design. This will be a very important feature when we get to ink application a bit later in the article.
Grand Impressabilities are available in a large variety of patterns and styles. For this article I worked with the Sea Flowers pattern (above) and Butterfly Garden (below). Butterfly Garden is an especially good pattern for showing off just how intricate the designs on these plates are. Note the tiny, delicate lines in the design, especially those in the butterfly antennae and the tiny bits connecting the foliage.
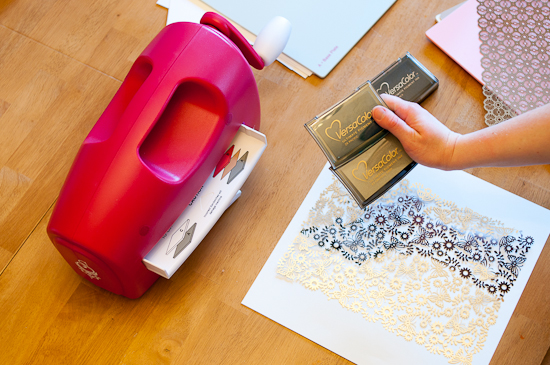
To letterpress with Grand Impressabilities you'll need an impression plate, a die cutting machine large enough to accommodate the plate, paper (either plain cardstock or watercolor paper will work with these plates) and ink. I tried several different types of ink including dye and chalk. I found that, as with the other letterpress options I've explored in this series, a pigment ink such as Tsukineko's VersaColor line worked best for this application.
I mentioned earlier that the cut-away designs would be an important feature when it came to applying ink to the templates, and here's why. As you can see in the photo below, all I had to do to ink the template was simply "stamp" my ink pad on it until it was covered. Unlike the Papertrey Ink Impression plates, I didn't have to be careful to not get ink in the non-relief areas since those areas simply don't exist in these plates. I placed a sheet of scrap paper under the plate as I inked to keep from getting the excess ink on my work surface.
The Grand Calibur machine comes with everything needed to both die cut and emboss right in the box, including extra large cutting plates and oversized embossing plates and mats. It even features a handy cutting and embossing sandwich guide right on the insertion tray!
Once the Grand Impressabilities plate was inked up, I placed it face-up (or, in this case, ink side up) on the Grand Calibur's base plate.
The media to be embossed is the next layer in the sandwich. For my first run with the plates I chose to use plain cardstock. I trimmed mine down to 8" wide, but Spellbinders has directions on their website for removing some of the Grand Calibur's internal guides if you need to be able to run a full 8.5" x 11" sheet through it.
After the paper, I added the large tan embossing mat - this is the piece that really makes the letterpress magic happen!
And, finally, the last layer of the sandwich is the large embossing plate.
The sandwich is then rolled through the machine just like you would to make an ordinary die cut.
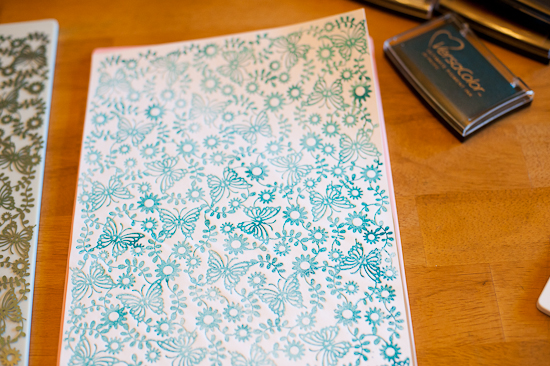
And here's the finished product! This was actually my very first run with the Grand Impressabilities plates, and I found that the learning curve was almost nonexistent. As long as you take care to apply the ink evenly and create the proper embossing sandwich, this system is incredibly easy to use!
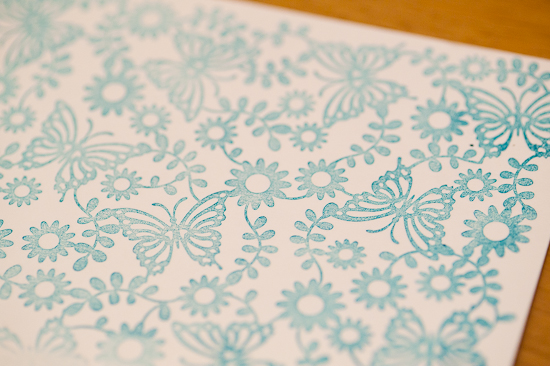
Again, I want to point out the detail that you get from these plates. All those fine lines that were in the plate transferred beautifully to the paper!
Bold patterns work equally well- here's a look at the Sea Flowers plate inked with Black VersaColor.
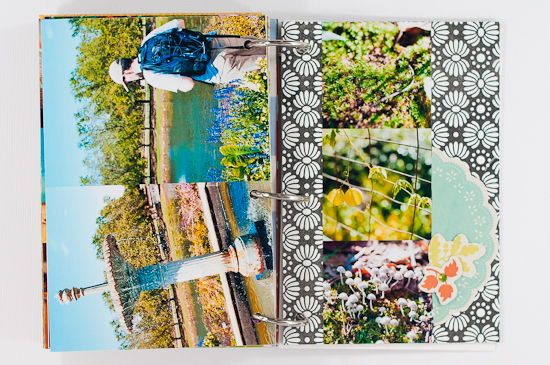
I used some of the letterpressed sheets to make a few more pages for my Fall mini album that you've seen in the other articles in my letterpress series. These patterns would be just as lovely used on cards, too!
Spellbinders' Grand Impressabilities are another great, versatile tool that can allow you to add a touch of letterpress to your papercrafting products. Their ability to also emboss and be used as stencils means that they won't become one-hit-wonders in your crafting stash and should be useful on a wide variety of cards, scrapbook pages, and other projects.

