Letterpress | Sizzix Ink-Its
For this next installment of Scrapbook Update's (mini)series on home letterpress systems, I'll be taking a look at an option that adds on to a tool that you might already own: a manual die cut machine. Ink-Its letterpress plates by Sizzix are designed to work with the majority of manual roll-through die cut machines and are an inexpensive (the plates range in price from $6.00 to $8.00 US) way to add the elegance of letterpress to your projects without a lot of extra expensive or bulky new tools.
Many of our readers are probably already familiar with Sizzix's line of popular embossing folders, and Ink-Its plates work on the same principle - the pressure of rolling the paper and the plate/folder through the die cut machine impresses the shape of the raised portion of the folder or plate onto the paper. The major difference is that while embossing folders raise an image from the back of a sheet of paper, causing the relief to be clearly visible from both sides of the sheet, Ink-Its deboss or "push in" the design from the front of the sheet, making it recessed instead of raised. Ink-Its plates are also one-sided (whereas embossing folders are double-sided) and thus only apply the design to one side of the paper.
Ink-Its plates are made of heavy 1/8" plastic (much heavier than that used in embossing folders) and are available in both background (5 7/8" x 8") and border (3" x 8") sizes in a variety of patterns.

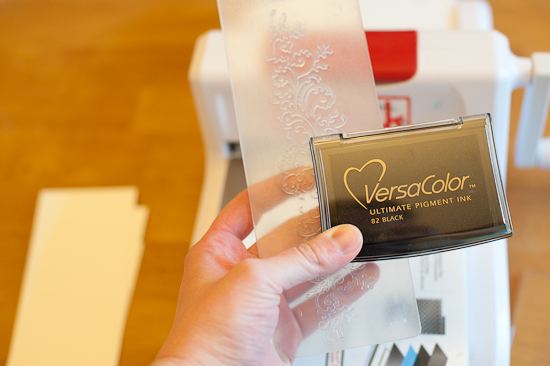
One of the beauties of the Ink-Its plates from Sizzix is that they're compatible with virtually any pigment based stamp ink, including those that you may already own! I tried a variety of types of pigment ink (including Tsukineko's VersaColor, VersaFine, and Brilliance) and produced great results with all of them. Water-based dye inks don't work well with these for the same reasons mentioned in my L Letterpress review, though - they tend to bead up on the plate's plastic surface and produce an uneven print.
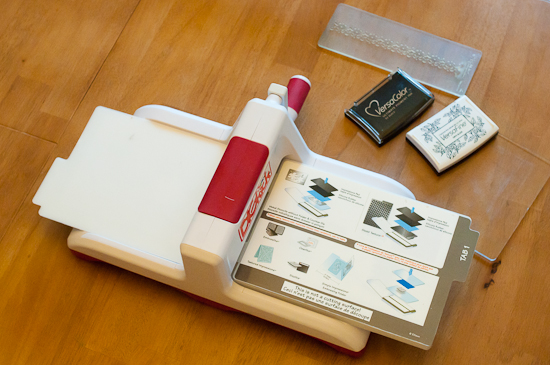
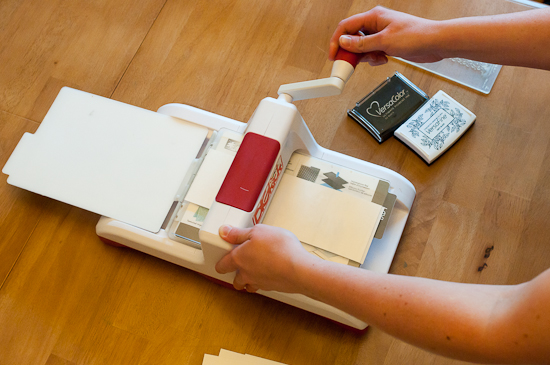
I used my trusty Sizzix Big Kick when testing the plates, and Ink-Its are also compatible with a variety of other manual die cutters including the Big Shot and Cuttlebug. Your "sandwich" will vary depending on the model of machine you're using and the thickness of your paper. For my Big Kick, I found that using the multi-purpose platform open to Tab 1 worked best.
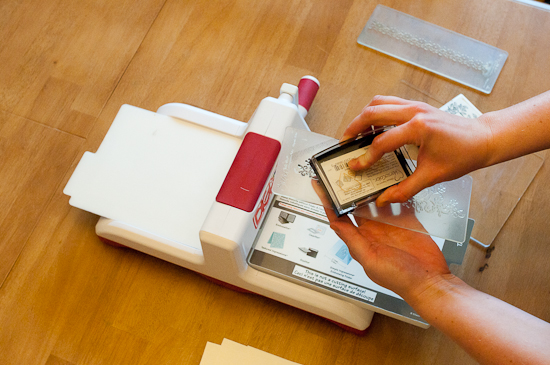
Ink can be applied to the Ink-Its plates using just the ink-pad, with no brayer needed! The relief on these plates is quite high, so any extra ink that you might accidentally get on the plate's background likely won't be transferred to the paper.
After the plate is inked, it should be placed face-up on the multi-purpose platform with no acrylic cutting plate under it. The thickness of the letterpress plate functions as the acrylic cutting mat in this case.
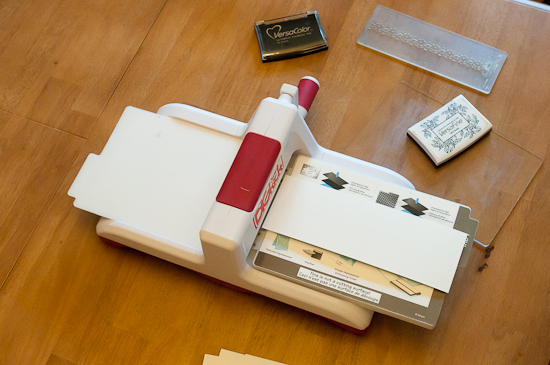
Letterpress paper should then be placed face-down on top of the inked letterpress plate. Thick cotton watercolor paper (I used Strathmore 300 Series ) is recommended for use with these plates.
Finally, carefully place an acrylic cutting mat on top of the whole assembly, using caution not to shift the paper in the process (this could cause unwanted ink transfer and smearing.
Once the sandwich has been assembled, roll it through the die cut machine as you normally would...
...and then pull out the finished product.
Using Ink-Its plates from Sizzix really is just that easy! I was pleased with both the crispness of the ink transfer and the depth of the impression, not to mention the ease of use. These are an item I can definitely see myself pulling out to use even if I'm slightly pressed for time on a project - it takes no longer than making a regular die cut, and cleanup is a snap since only baby wipes or plain water are needed to wash the ink away.
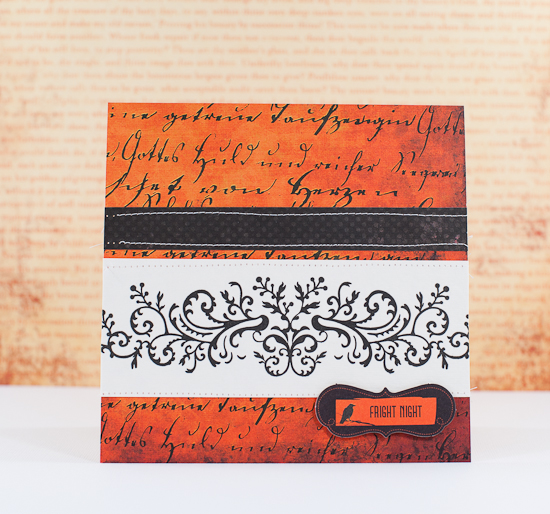
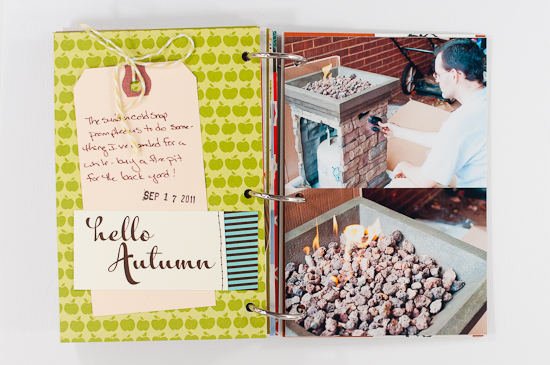
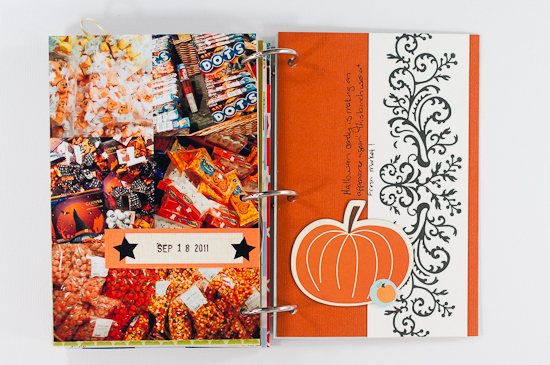
I've created a card and a few more pages of my fall mini album (you can see the first set of pages in my L Letterpress review) to show off the versatility of these letterpress designs. I only had two of the border plates to work with for this review, but with all the design options available the possibility for use in any type of papercrafting project is virtually limitless.
Supplies | Letterpress Paper: Strathmore 300 Series. Patterned Paper: Authentique Glowing (Luminous, Foundations). Die Cuts: Authentique Glowing (Icons). Ink: Tsukineko VersaColor (Black). Letterpress Plate: Sizzix Ink-Its (Organic Flourish).
Supplies | Letterpress Paper: Strathmore Watercolor Paper (300 Series). Cardstock: Core'dinations Tim Holtz Kraft-Core (Nostalgic Collection); Patterned Paper: Bella Blvd Finally Fall (You're a Hoot, Apple Holler). Chipboard: Bella Blvd Finally Fall (Icons); Stickers: Bella Blvd Finally Fall (Miniatures). Journaling Spots: Elle's Studio (L'il Snippets Labeled Halloween, Spooktacular Autumn Tiny Tags). Baker's Twine: The Twinery (Honeydew). Ink: Tsukineko (Staz-On Timber Brown, VersaColor Pacific, VersaColor Black). Letterpress Plates: Sizzix Ink-Its (Organic Flourish, Vintage Lace). Date Stamp: Office Supply.
If you already own a compatible die cutting machine, Sizzix Ink-Its are one of the most cost-effective and easy to use options for adding a touch of letterpress to your projects. In my next letterpress article, I'll also be taking a look at a similar tool that you might not even be aware is capable of producing letterpress prints!


