Craft it Forward: Cards for our Troops
Thanks for visiting the Scrapbooks Etc Craft it Forward blog hop on Scrapbook Update! Today it's card-a-palooza on Scrapbook Update as our editor and several of our contributing writers give their unique take on inspiration cards that started this blog hop!
If you'd like to start at the beginning of the Craft it Forward blog hop, just click this link! If not...let's get started!
Scrapbook Update has decided to take part in the patriotic card fest by creating cards for Operation Write Home. If you've never heard of this amazing group, they are made up of 8,000 cardmakers who want to support the US military. They make cards and ship boxes of them in care packages to military units stationed overseas, so that servicemen and women can use these cards to send greetings to their loved ones at home. On May 13th, Operation Write Home reached an amazing milestone - it created its one millionth handmade card to send to service members overseas!
Creating cards for Operation Write Home adds an extra dimension to this card challenge, since Operation Write Home has certain guidelines for creating their donated cards, including banning the use of most glittered products for safety reasons.
So let's start with the first inspiration card...we've got lots to show you! Our first batch of cards at Scrapbook Update was inspired by the card with the trio of stars on it:
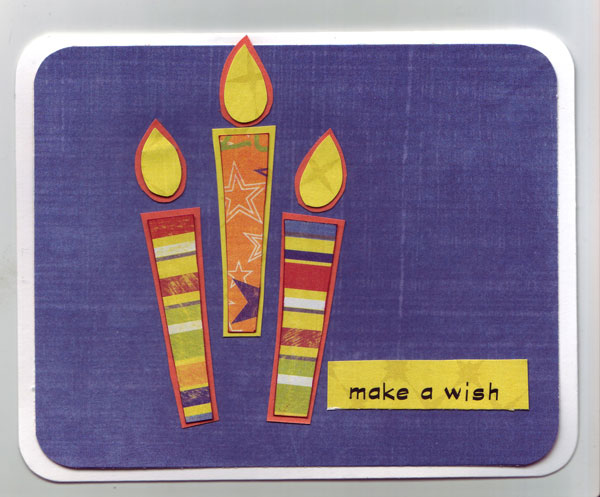
Supplies - Pattern Paper: Fancy Pants (To The Moon). Cardstock: Paper Accents. Rub-ons: Fiskars.
Contributing Editor Betsy Burnett created a literal interpretation of the design in the first card for her "Make a Wish" card, but she used pattern to prove that simple does not have to be boring! Despite keeping the basic layout of the card the same as the inspiration piece, the different scale of the three embellishments and the bold pattern that makes them literally seem to jump off the page creates an entirely different feeling for the card.
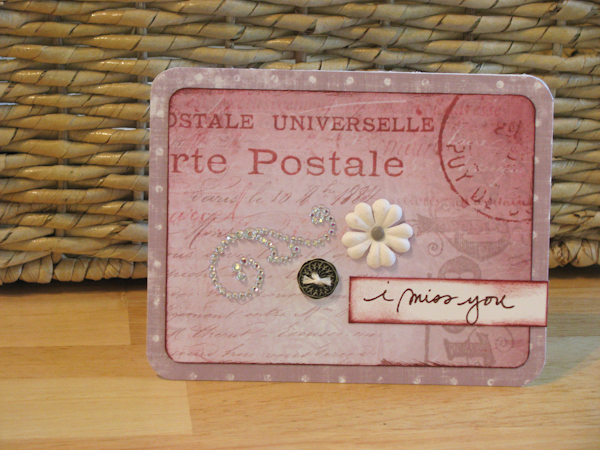
Supplies - Patterned Paper: Tim Holtz idea-ology Paper Stack (Vintage Shabby). Cardstock: Bazzill (White). Punches: EK Success (Corner Rounder). Ink: Ranger Tim Holtz Distress (Aged Mahogany). Stamps: Technique Tuesday (Missing You by Studio AE). Other: Ranger Super Fine Embossing Powder. Embellishments: Me & My Big Ideas Rhinestones (Small Scrolls), Making Memories Designer Buttons (Sabrina), Prima Flower, brad (unknown), DMC embroidery floss.
This card of mine is also a direct interpretation of the original inspiration piece, but the use of pattern and embellishments makes it look totally different from both the original and Betsy's interpretation. Where Betsy's background was all solid cardstock, mine is a festival of pattern. Part of the pattern in the paper (the postmark) is even precisely placed to serve as a major design element in the layout. The use of a "collage" of three different vintage style embellishments completes the design's makeover from Betsy's fun graphic look to my elegant vintage style.
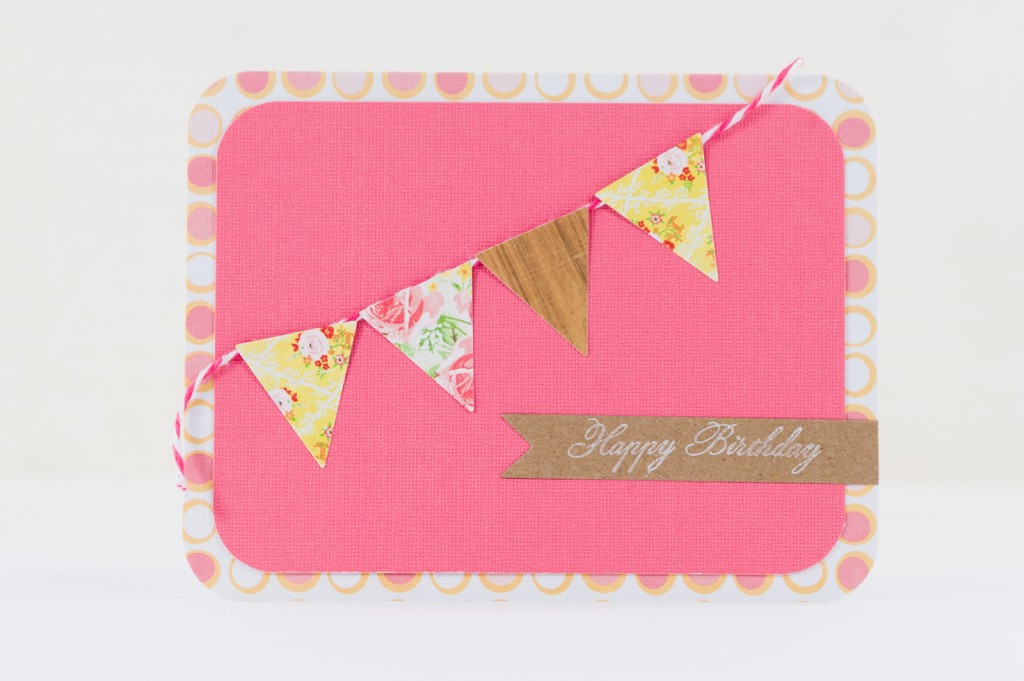
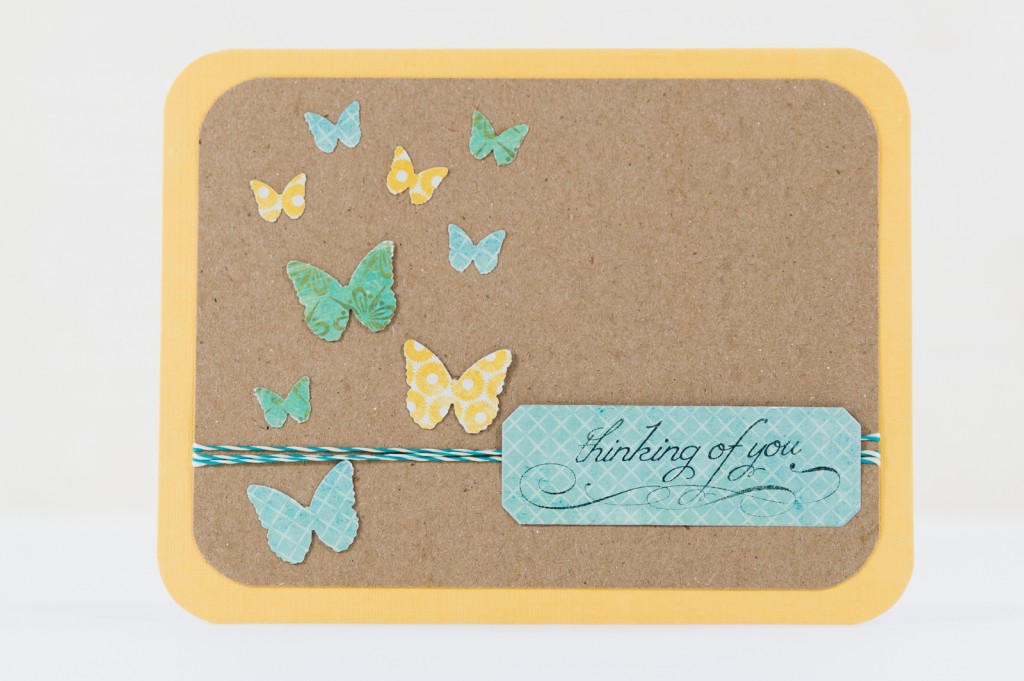
Don't feel like doing what you are told? Neither did Contributing Writer Melissa Stinson. (Just kidding!) She shows how you can interpret the inspiration card slightly less literally to create airy and beautiful designs that while different from the original piece, still definitely show its influence. And she even managed to work in three of the industry's hottest trends - banners, baker's twine, and butterflies - while she did it!
Supplies - Stamps: Papertrey Ink (Birthday Basics). Patterned Paper: Crate Paper 6x6 Pad (Emma's Shoppe). Notecard Base: DCWV. Cardstock: The Paper Studio by JoAnn's (Kraft). Twine: The Twinery (Pink Sorbet). Ink: Tsukineko Brilliance (Moonlight White).
Supplies - Notecard Base: DCWV. Patterned Paper: Crate Paper 6x6 Pad (Portrait), My Mind's Eye 6x6 Paper Pad (Fine and Dandy True Blue). Punch: Martha Stewart Crafts (3-in-1 Butterfly). Twine: Pink Paislee House of 3 (Daily Junque). Stamps: K & Company (Amy Butler "Lotus" Greeting). Die: Papertrey Ink (Label Basics). Cardstock: The Paper Studio by Jo-Ann's (Kraft). Ink: Versa Magic Dew Drop (Midnight Black).
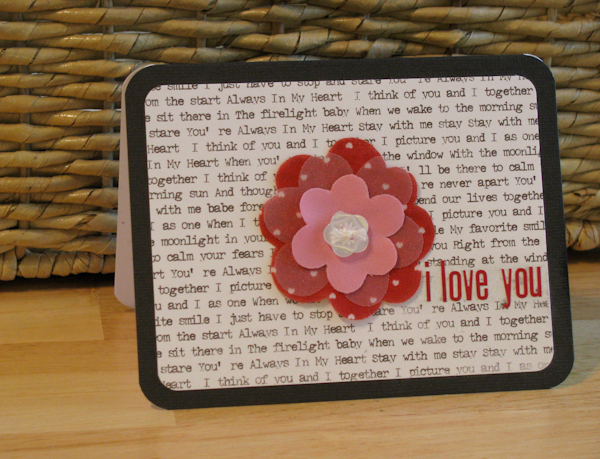
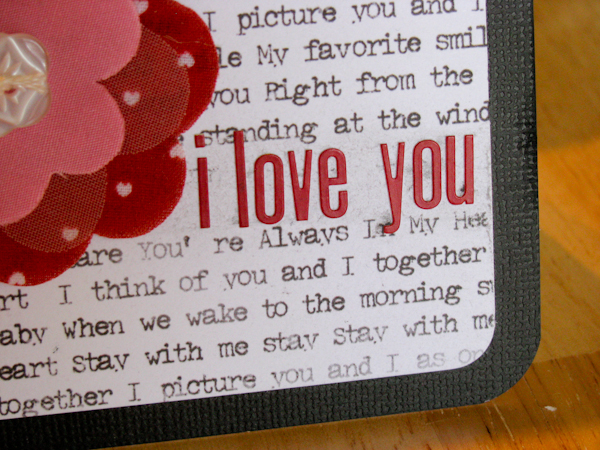
For my final version of this first card, I abandoned the paper strip for the title altogether and created a "virtual" strip instead for it. I wanted to lay the title over the background paper but the text design of the background paper was distracting under the title. So I grabbed my Tim Holtz sanding grip and sanded the design off of the area of the paper that is under the title before adhering the letter stickers! No more distracting background!
Supplies - Notecard Base: DCWV. Punches: EK Success (Corner Rounders). Patterned Paper: Little Yellow Bicycle (Love Letters). Alphabet: Lily Bee ABC stickers (Picket Fence). Embellishments: K & Co Fabric Art (Handmade Floral), unknown button, DMC embroidery floss. Tool: Tim Holtz idea-ology Sanding Block.
On inspiration overload yet? I hope not...because we also had a lot of fun here at Scrapbook Update playing with the design of the inspiration card that featured the yellow ribbon!
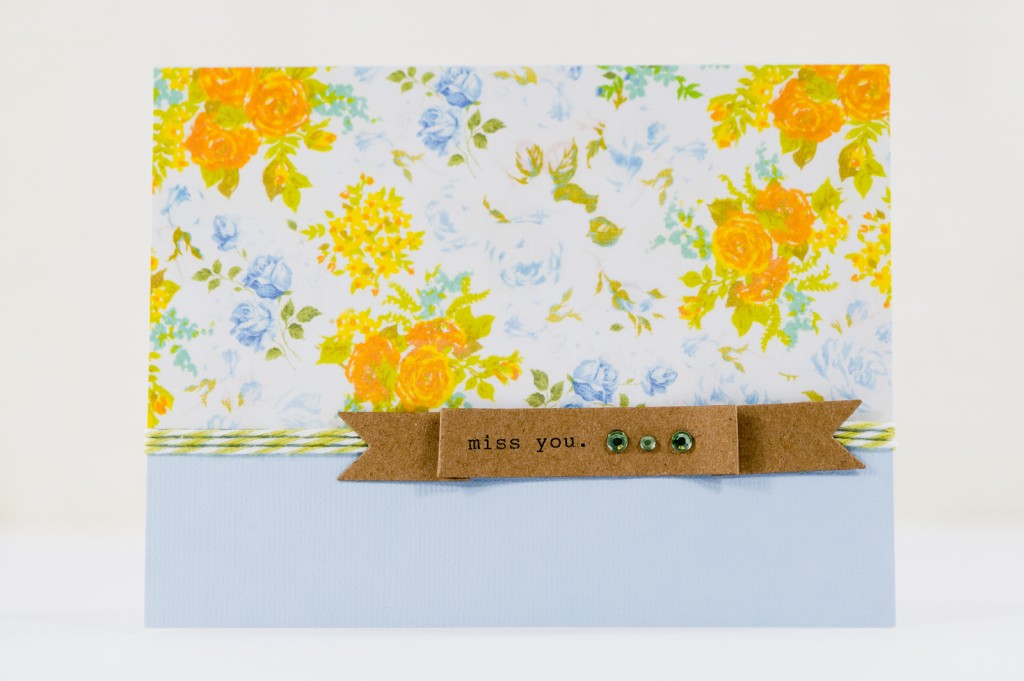
First up was Melissa, with her elegantly simple take that had just a touch of vintage style to it. She made the design even simpler than it already was by keeping the embellishments small, just three tiny jewels compared to the large ribbon on the original design.
Supplies - Patterned Paper: Sassafras (Mix & Mend Wee Bundle). Twine: The Twinery (Honeydew). Gems: Kaiser Craft. Notecard Base: DCWV. Cardstock: The Paper Studio by Jo-Ann's (Kraft). Die: Papertrey Ink (Double Ended Banners). Font: Typewriter (a real typewriter).
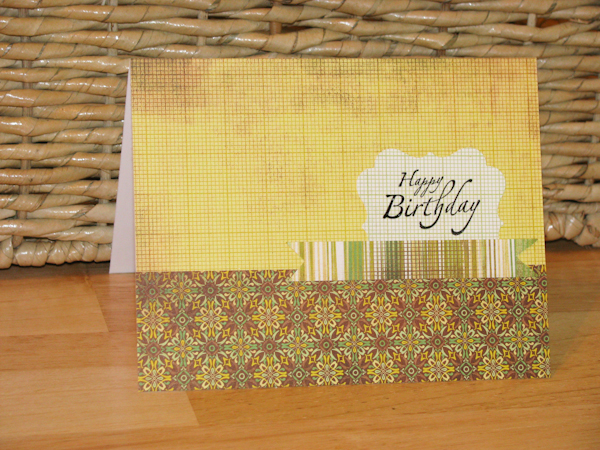
I also kept it simple on my first example with from this inspiration piece - if you don't count the palette of coordinating patterns that are themselves the real decorative elements of the card. Coordinated 6x6 paper pads are so wonderful for making cards full of pattern like this! Also, instead of putting an embellishment under the title block, I made the title block itself the decorative element by creating it from a decorative shaped piece of patterned paper.
Supplies - Cardstock: Bazzill (White). Patterned Paper: BasicGrey 6x6 paper pad (Origins). Ink: Ranger Tim Holtz Distress (Black Soot). Stamps: Stampin' Up! (It's Your Birthday). Other: Ranger Super Fine Embossing Powder. Punch: EK Success (Flourish Square).
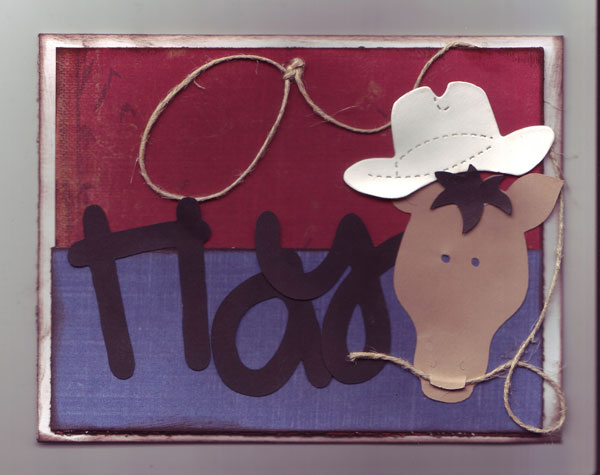
If simple isn't your style...Betsy has a cute and crazy example for you!
Supplies - Pattern Paper: Fancy Pants (To The Moon). Cardstock: Paper Accents. Die Cuts: Cricut (Animal Kingdom & All Mixed Up), Sizzix (Cowboy). Other: Jute Twine (unknown). Ink: Colorbox.
Betsy's example shows that the original card design, although very restrained and simple, can be interpreted in a very loose and casual way to create a really fun effect using larger elements (in this case Betsy's favorite embellishment, die cuts).
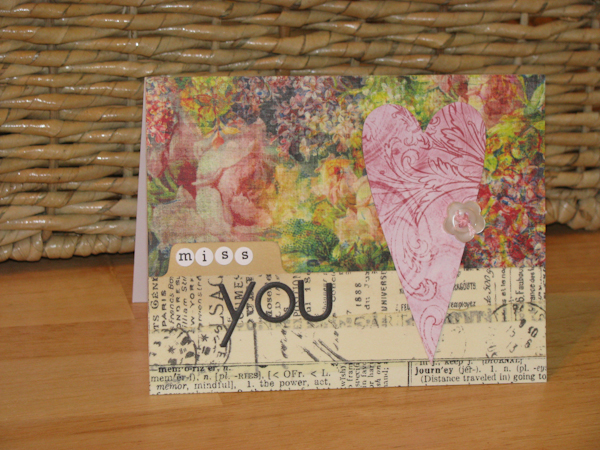
And last, we'll close our blog hop card party with a card that I did that sums up a lot of things about this project. It is a fairly literal take on the inspiration card's design, but with some twists. Instead of a banner strip, the title is placed on a file tab diecut. All of the patterned elements on this card make use of one of my favorite tips for making cards - using coordinates - since all of them are Tim Holtz designs. (The file card design is created by covering the bottom of the die cut in strips of Tim Holtz idea-ology Tissue Tape.)
Supplies - Cardstock: Bazzill (White). Patterned Paper: Tim Holtz idea-ology paper pads (Lost & Found and Vintage Shabby). Dies: Tim Holtz Alterations for Sizzix (File Tabs), Sizzix (Primitive Hearts). Alphabet: Bella Blvd Bella Sophisticates (Quattrofino Milk & Oreo). Embellishments: Tim Holtz idea-ology Tissue Tape (Symphony & unknown), button (unknown), DMC embroidery floss.
And most of all...this card is a fitting ending because it sums up what this project is all about: Love. It's about love for our troops, and about helping them express their love for their families who are far away.
And now, if you are interested in learning more about the excellent work of Operation Write Home, you have the perfect chance to do just that - because (although we didn't know they were taking part when we decided to make cards for them for this project) Operation Write Home's Stars & Stamps blog is the next stop on the Craft It Forward blog hop!
Enjoy your "hopping" and thanks for stopping by Scrapbook Update!

