Review: KaiserCraft ‘Beyond The Page’ [Giveaway]
KaiserCraft is a company based in Australia that has quickly become one of my favorite imports from the land down under. They make great scrapbooking and paper crafting products, and I always look forward to see what they'll do next. I don't spend a lot of time on altered projects. Instead, most of my time and energy goes into scrapbook layouts. That said, I really do like the idea of altered projects, and I love a good product that can help me be creative and save time. It's for these reasons that I have really grown to love KaiserCraft and their 'Beyond The Page' line of products.
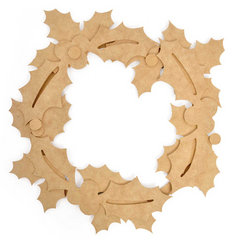
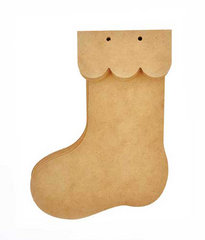

shown above: Holly Wreath, Stocking Garland, and Love Monologue
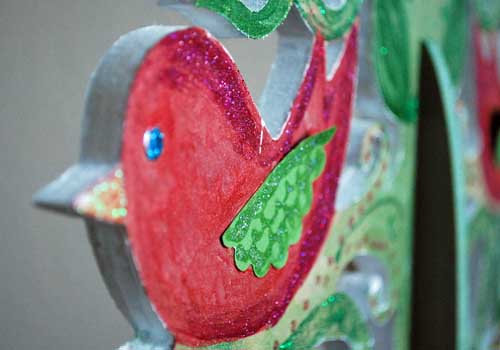
The wood items are easily covered, painted, or otherwise decorated. All come with a small photo of the finished item, but instructions are not included. For some projects it has taken me a bit of time to work out the best way to put it together, but for the most part the pieces I've selected are simple enough that it is immediately clear what to do to assemble them.
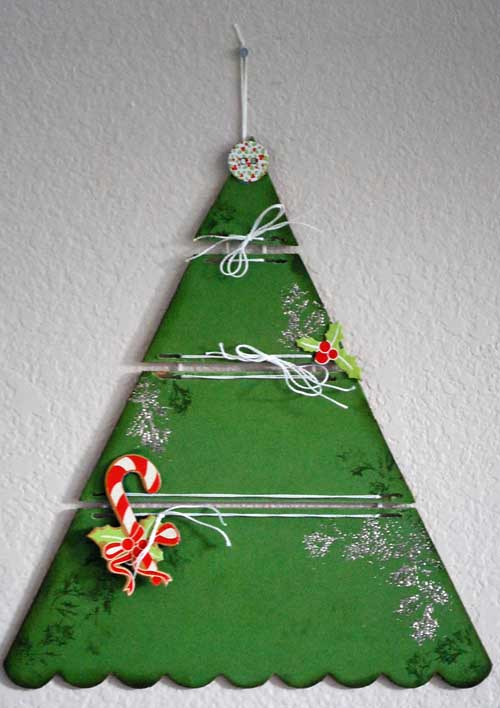
What I really do enjoy with these projects is that I can choose how easy or hard, how detailed or simple, I want to make them. To start off with, I decorated this tree.
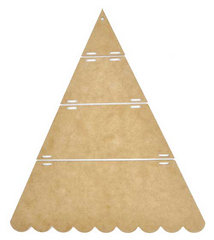
To cover the wood, I used green cardstock (and a light coat of liquid adhesive). Then I cut it apart, and used the KaiserCraft Be Merry elements and their 'Tis The Season' acrylic holly leaf stamp. Very soon, I had tied this tree together and was ready to hang it up! I used Tim Holtz Distress Ink and Distress Embossing Powder (with the holly stamp) as well as edging this piece in Distress Ink.
A few items I'd recommend when working with this line include a good adhesive/sealant such as PPA by USArt Quest, sanding tools such as the Basic Grey sanding tool set, and plenty of patience. Whether you're painting, misting, or paper covering (or some of each) your piece, you'll want to allow it to dry thoroughly in between sessions to ensure the best possible final product. Whenever I rush I end up with smears, mistakes, and other problems. I also recommend using adhesive all the way to the outer edges when covering with paper so that the edges won't lift away from the base.
All of that advice is really true for any altered project, and while the tree above only took two sessions, the one below took quite a bit longer than that.
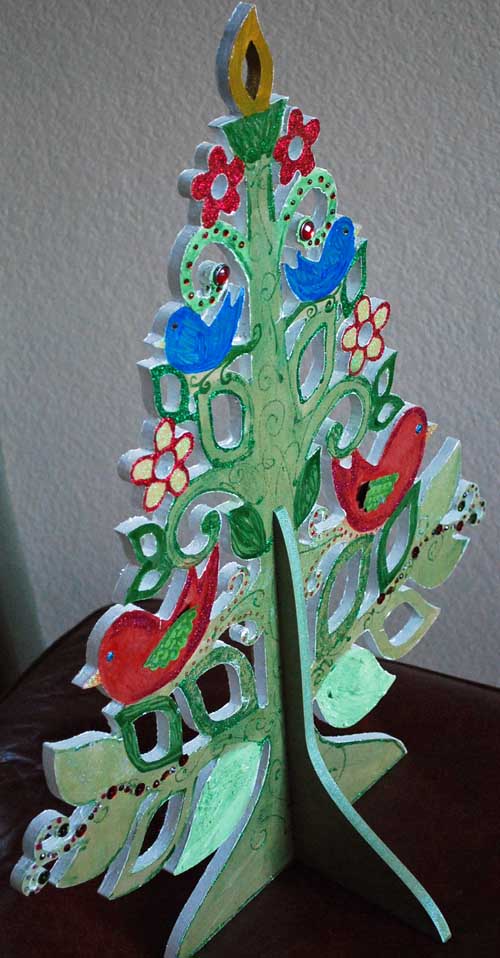
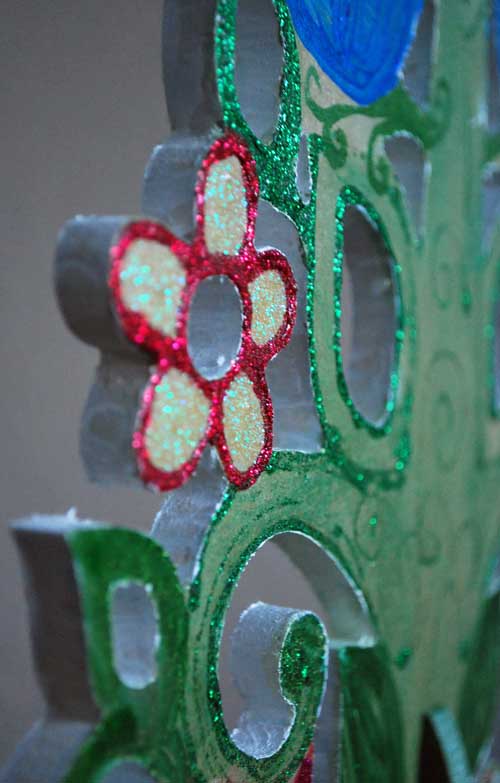
This tree took a number of hours (over a few weeks), but it's actually a simple enough project. I used paints, mists, and everything else I could think of to make this ultra colorful tree - which is soon to be centerpiece on my buffet.
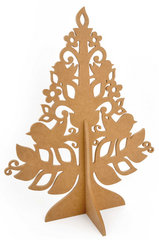
key supplies used in making of this tree:
KaiserCraft Large Flourish Tree
Smooch Pearlized Accent Inks
Acrylic Paint (KaiserCraft or other brand)
Glitter Glues (Stickles, or other brand)
Making Memories red brads and rhinestones
Distress Crackle Paint in Tarnished Brass
Fiskars squeeze punch (bird wings)
PPA by US Art Quest (adhesive/sealant)
Liquitex irridescent/pearlescent medium
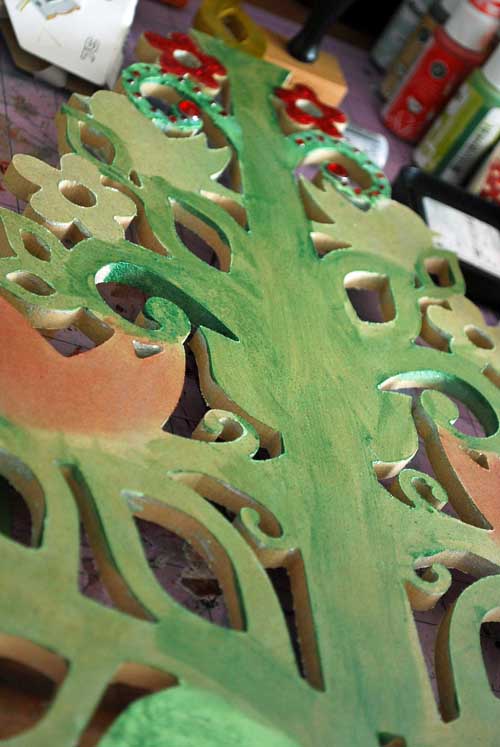
I have seen this particular tree done very simply (and beautifully) in a single paint color, glittered, or otherwise done a lot quicker than I have here. However, I really just wanted to play and have fun. I kept painting on layers of color, testing different products, and if I didn't like something I simply covered it (once dry) with a new layer. So much fun!
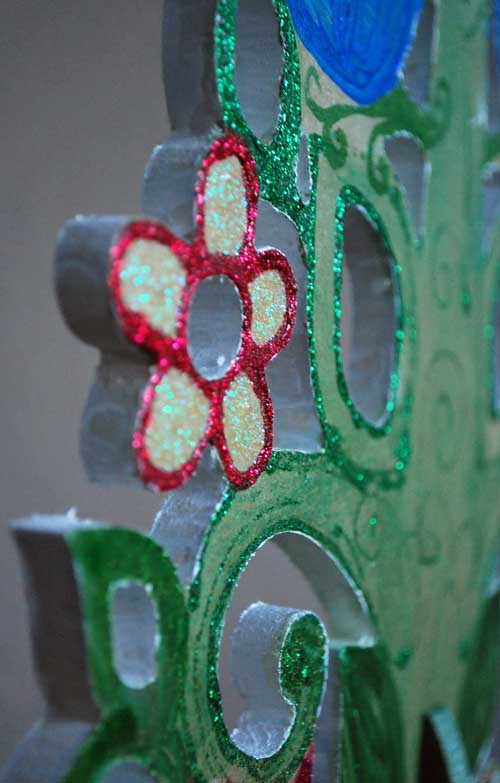
My best advice when working with a large project like this is to frequently take breaks so you don't burn out or get sloppy. Just relax and enjoy yourself! I chose to work with paints, inks, and other similar mediums so that I could easily layer over color and change things as I went. I didn't apply the white paint edging to this piece, or the glitter glue, until I was very comfortable with my nearly finished piece.
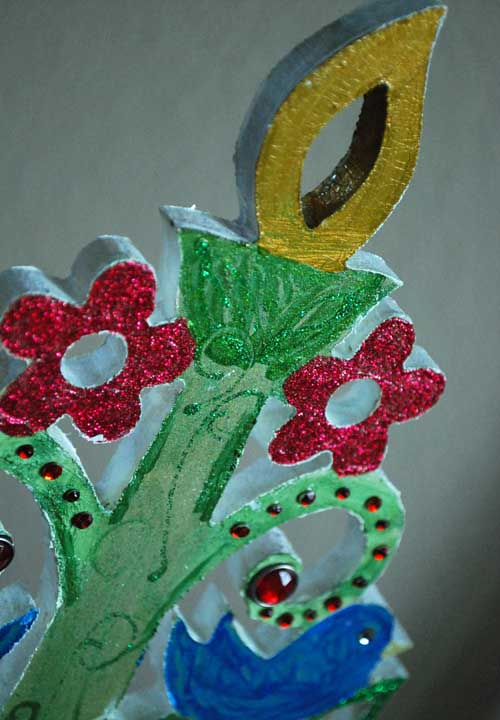
I have been having so much fun with these pieces that I have found myself looking over the current selection available and thinking about purchasing more items to play with! I recommend the pieces, like these two above, that are very simple in design and have only a few pieces at the most. They are the easiest to use, sturdiest, and the most fun in my opinion. I count the many mini-book options among these. They are exceptionally sturdy books in all shapes and sizes that could be oh-so-fun to customize.
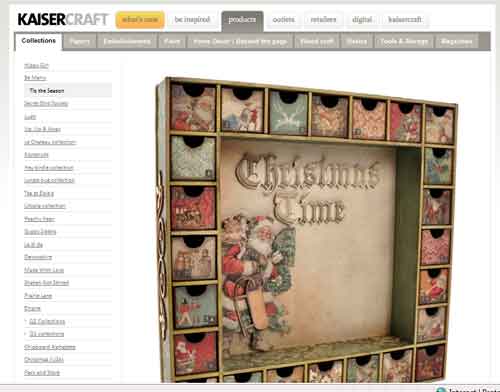
That said, I've also enjoyed some of the more intricate pieces available. Above is a screen shot from the KaiserCraft website of their advent calendar. I really appreciate how many projects and images they share both on their blog and the website itself.

The Advent Calendar has a lot of pieces - so expect to spend some time cutting apart and securing all the bits and pieces. What I love most about this piece is that it has a large center area that you can decorate, and also use as a shelf to add little trinkets and holiday cheer.
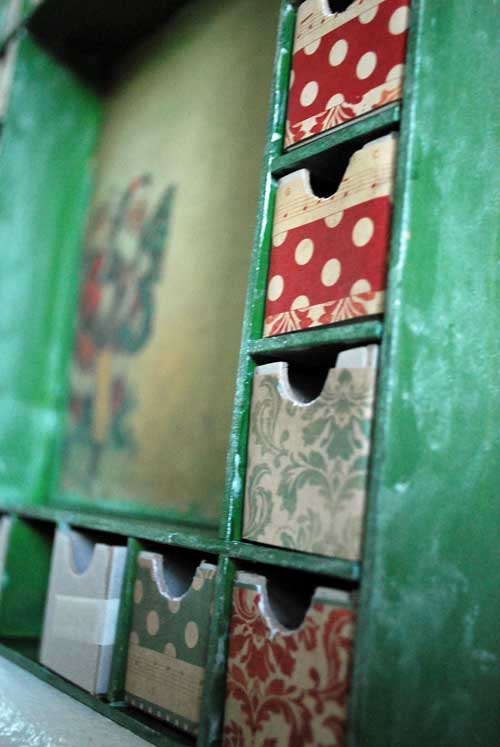
I chose to paint mine, and decorate the center portion (on the back/base) BEFORE adding all the cubbies and such. I felt this made for much easier decorating, and I didn't have any pesky paint lines at edges because I was able to work with the individual pieces vs a pre-made piece.
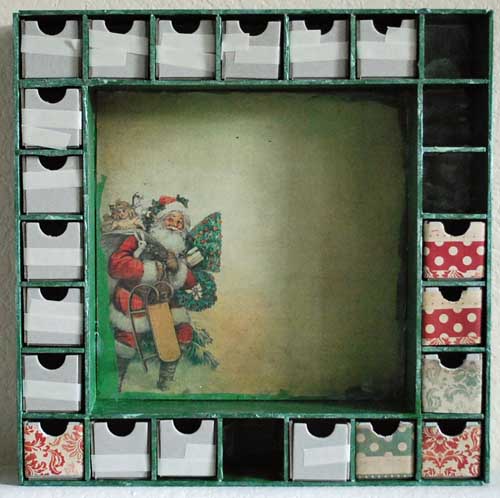
As you can see, I still have some work to do on this project, but I wanted to share these "in progress" photos with you. I am using Crafty Power Tape (by Scrapbook Adhesives by 3L) to hold the chipboard boxes in place and also on the paper that I'm adhering to them. A strong double sided tape works great to both hold the boxes together and secure the paper.
In this project, I am using one of KaiserCraft's two holiday lines (Tis the Season) for my Advent calendar and WOW! I sure do love this line. It's so full of damask, holly, sheet music, and vintage Santas - it's just my thing. I'm looking forward to using it a lot in my holiday crafting.
I look forward to utilizing a lot more KaiserCraft wood alterable items in the future - for both home decor and paper crafting projects. The prices are reasonable and the results are great every time. I have had a lot of fun sharing a bit about these projects with you and I hope they've got you in the mood to put your scrapbooking stash to work "beyond the page"!
We have a giveaway to share here today as well - KaiserCraft has generously provided a box full of goodies from both of their holiday lines as well as a Funky Wreath that one lucky Scrapbook Update winner will win.
How To Enter: All you have to do to be the lucky winner is leave a comment on this entry before Midnight U.S. eastern time on Wednesday night, November 24th. Make sure you include your email address in the line reserved for it on the comment form (for your own protection, don’t put it in the text of the comment, where it will be visible to the public – just in the line labeled “email” in the form where only Scrapbook Update staff can see it). We will need it to notify you if you are a winner. Winners will be drawn by random drawing from all eligible entries. One entry per person. U.S. mailing addresses only please.
